Hi Friends,
Today I am featuring a DIY post by Daria (D&D) of a simple swing-lamp makeover that she used in her lady cave. As you’ll see, Daria is the more artistic of the D&D pair. So without further ado, here’s Daria…
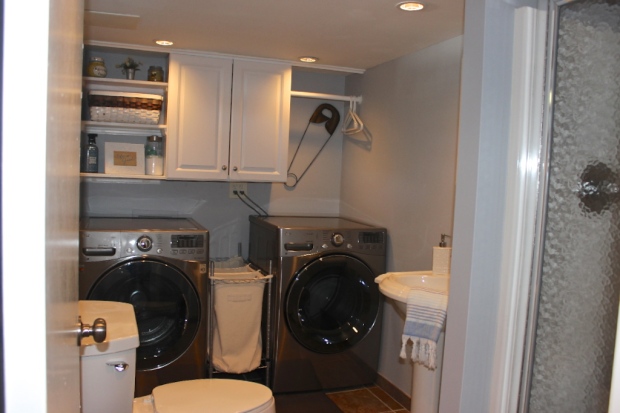
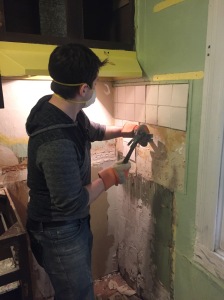
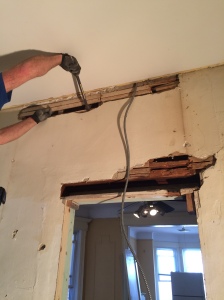
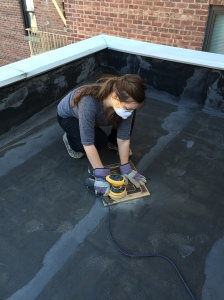
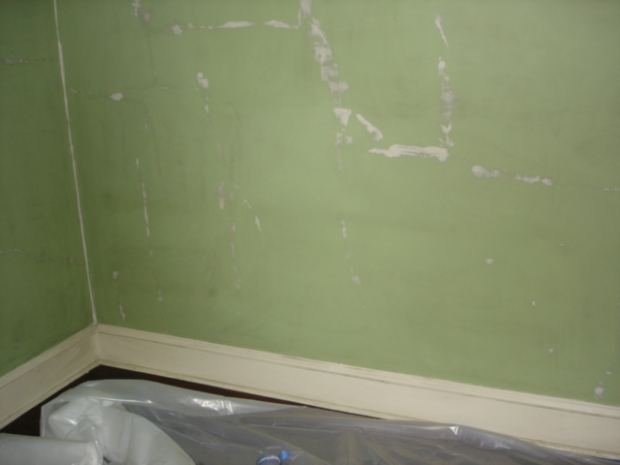
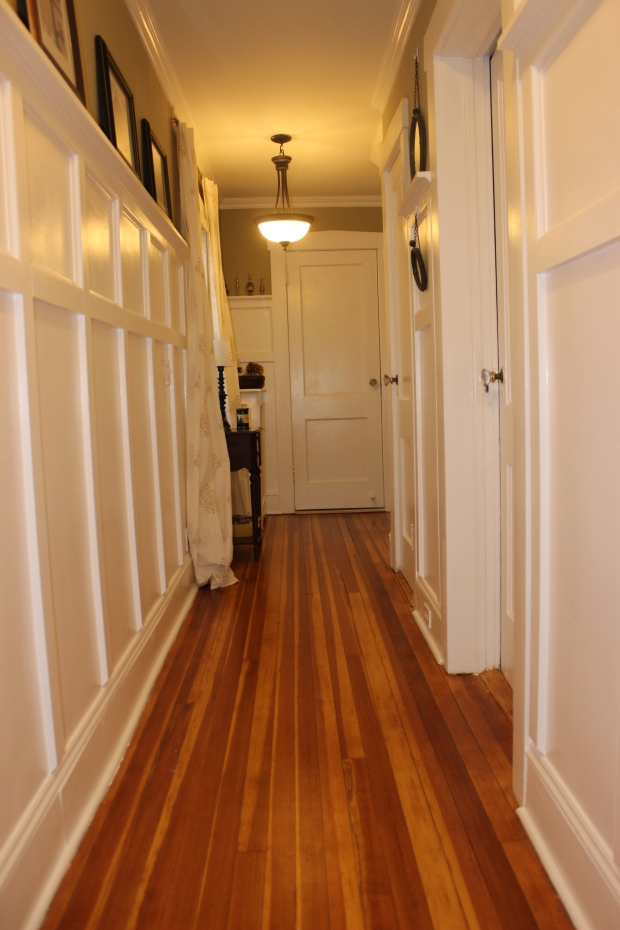
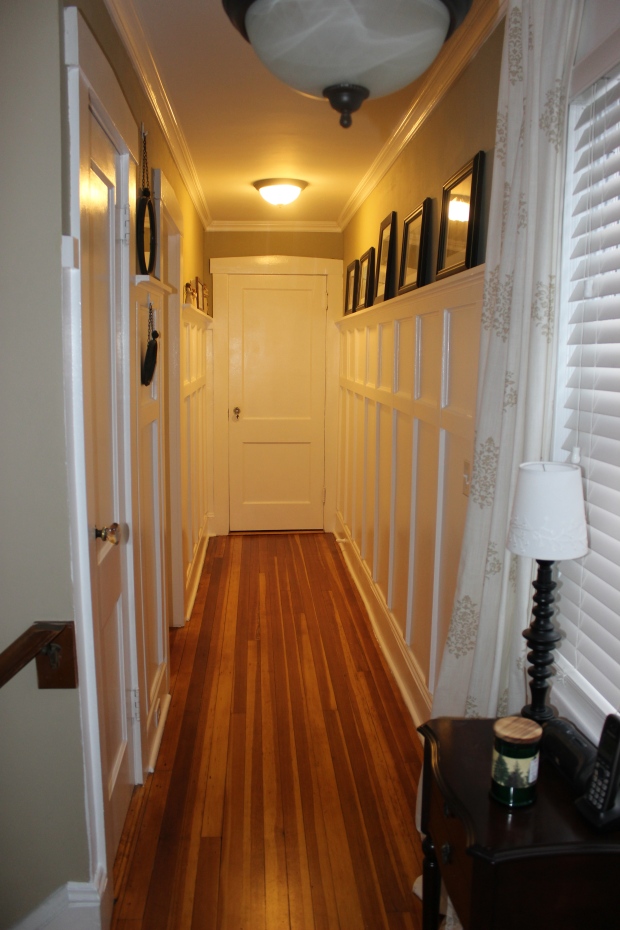
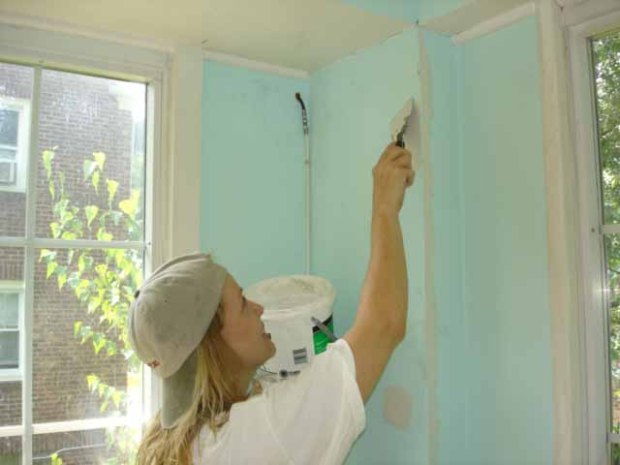
The first time I saw our apartment, I saw a well lived-in home in need of some TLC. OK, maybe a lot of TLC, but I couldn’t overlook the size and space. There were three bedrooms and a large living room and dining room. And the closet space was awesome. So we got to work giving it the TLC it needed.
The previous tenant, a bachelor, had left behind some old, stained carpet…ew, gross… outdated wall paint, and a few other items scattered around. After ripping out the old carpet to reveal original hardwood floors and refreshing all of the walls with new paint, I was able to find a use for this old swing-arm lamp they left behind.
Swing Arm Lamp
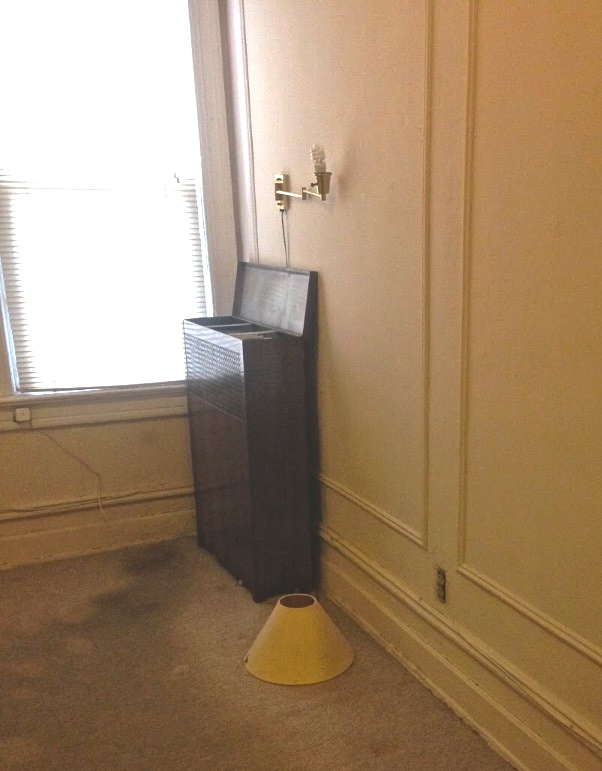
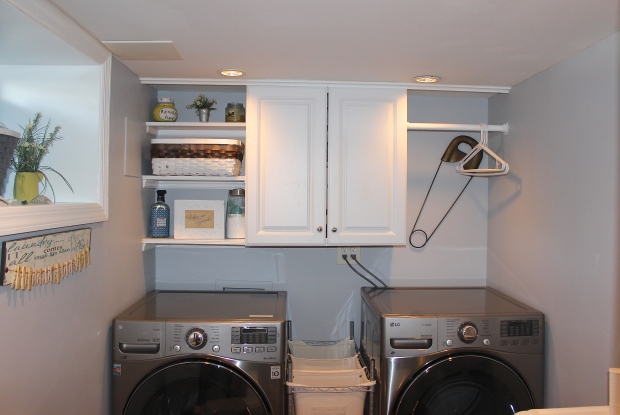
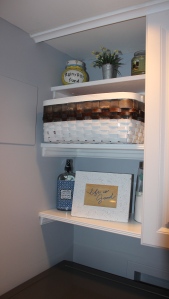
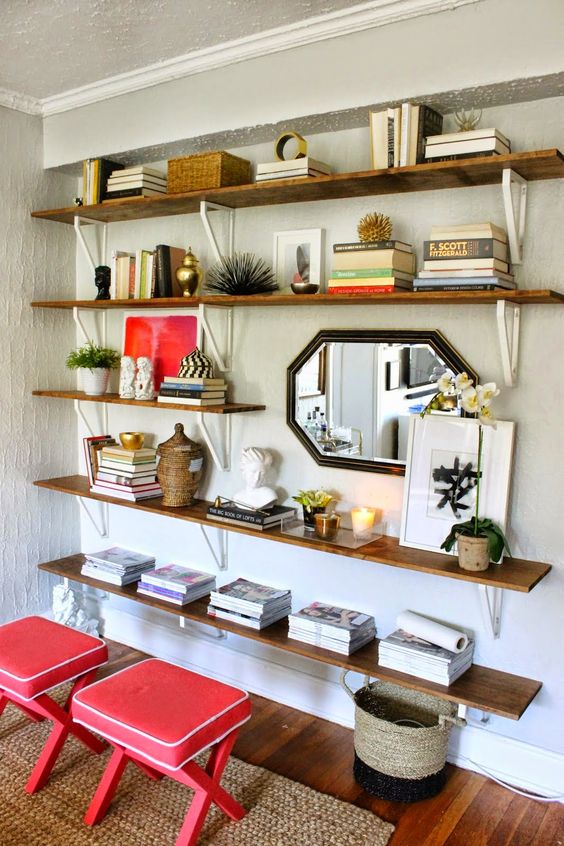
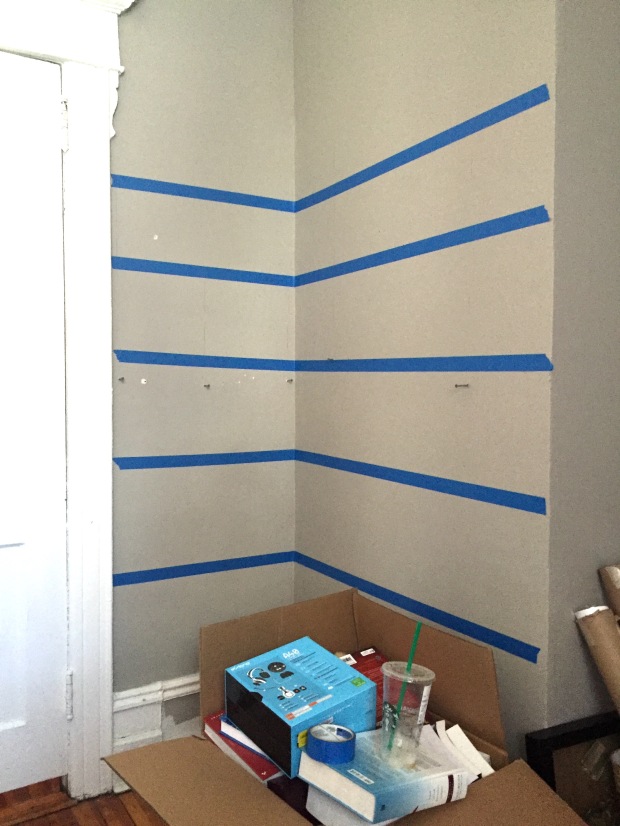
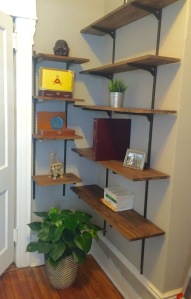
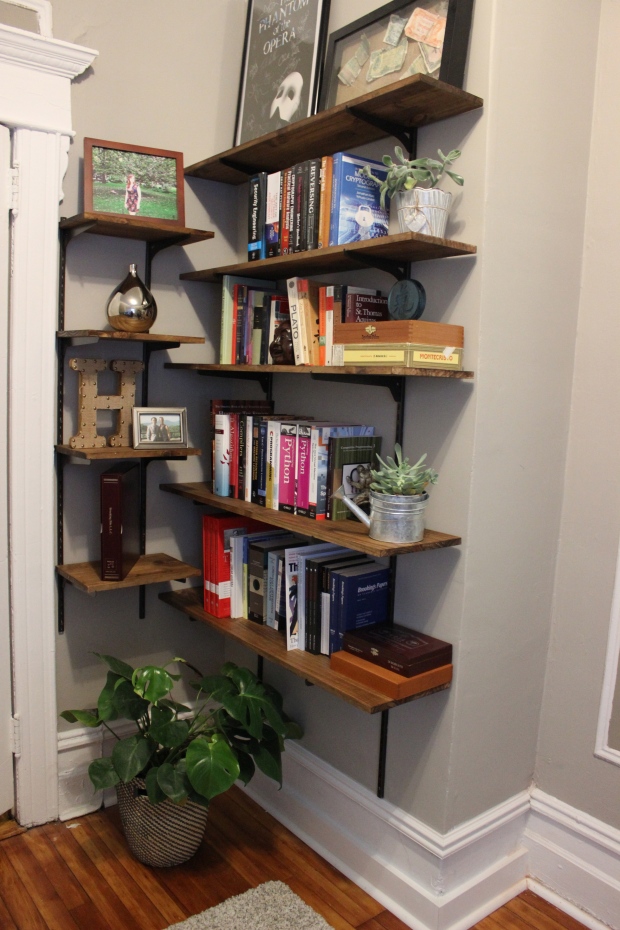
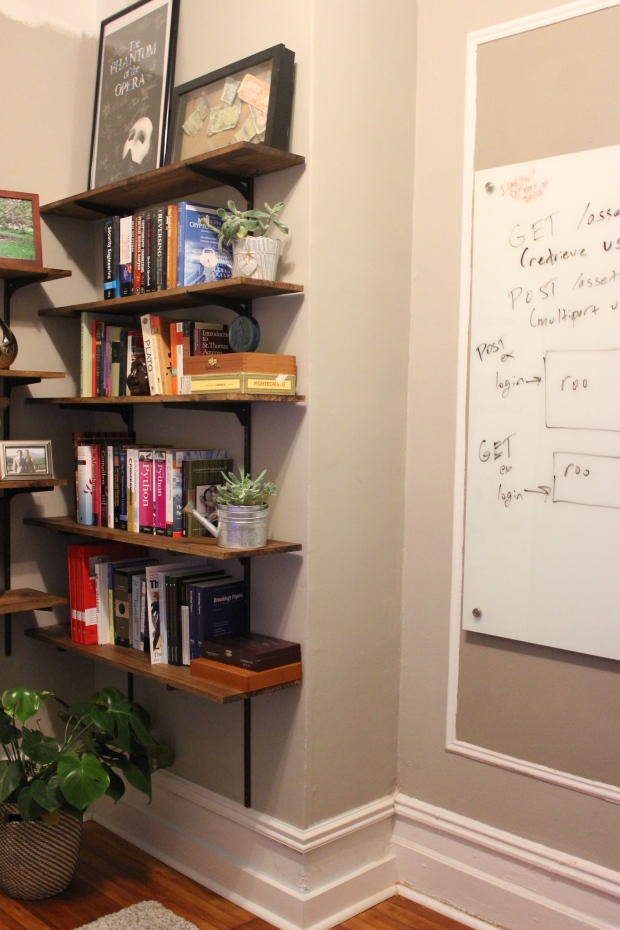
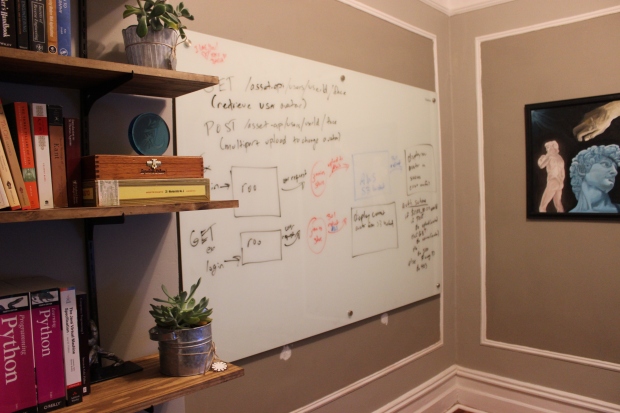
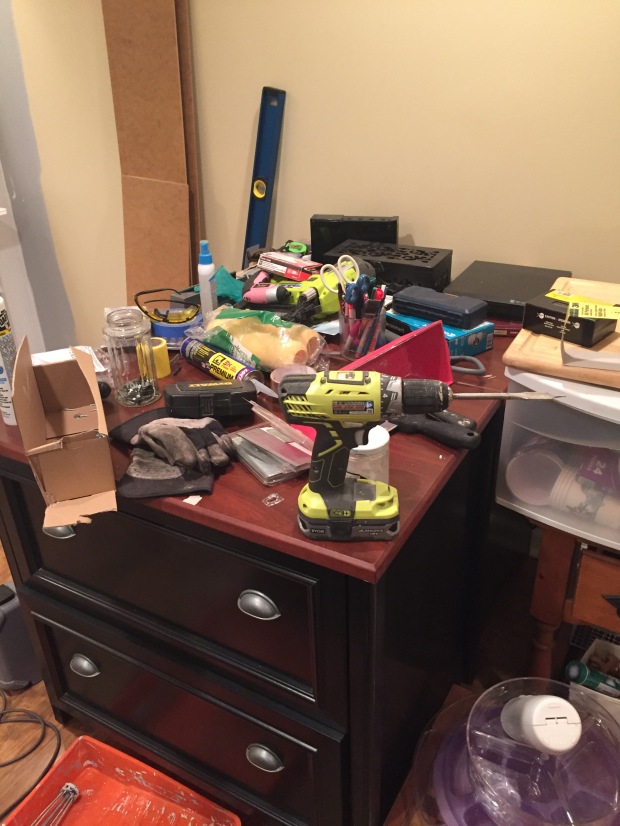
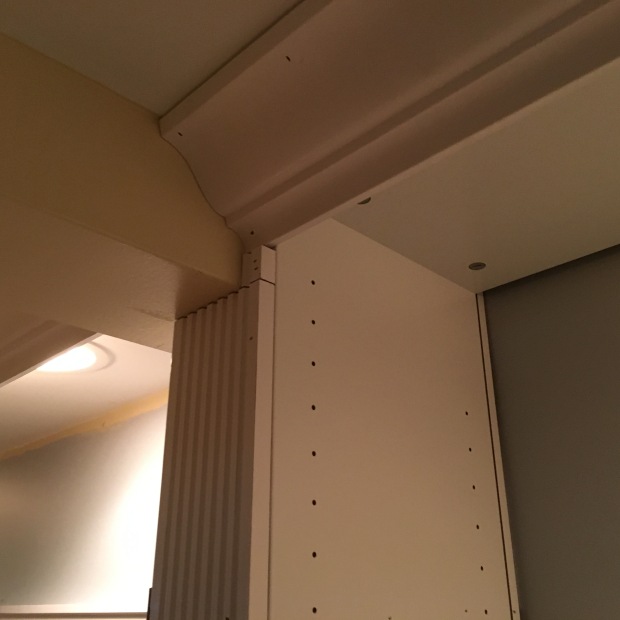
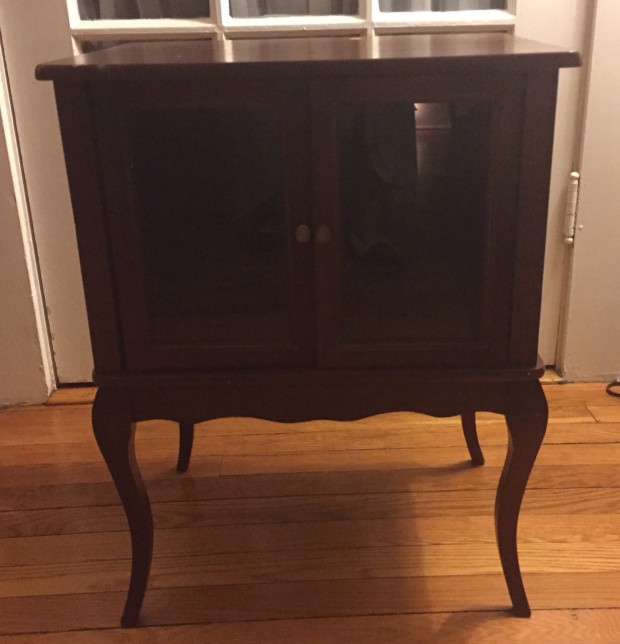
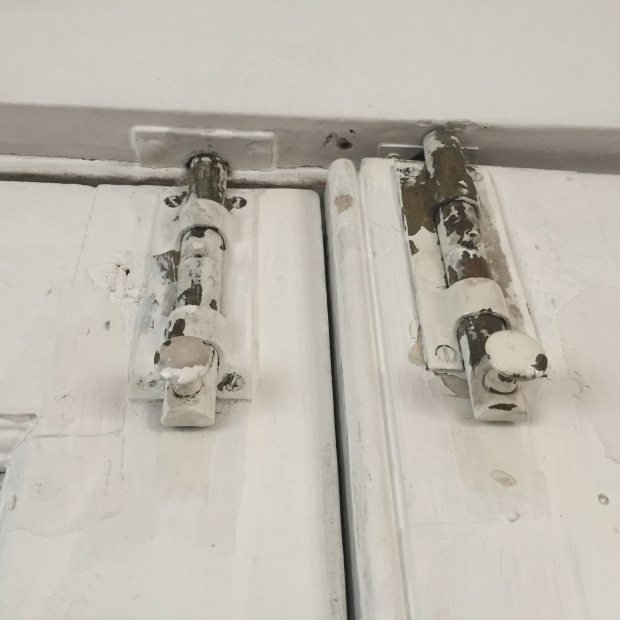
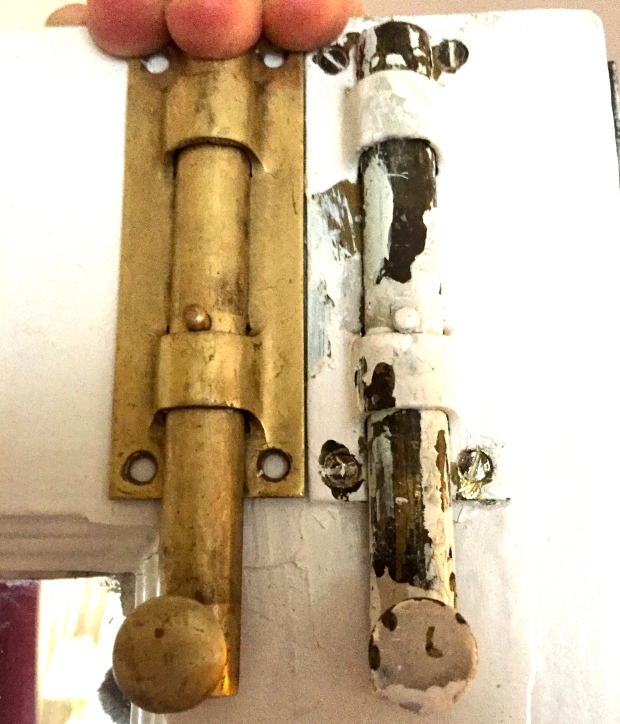
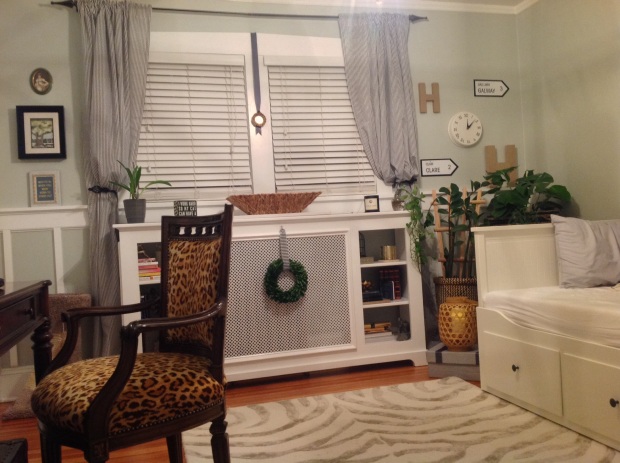
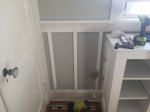
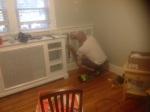
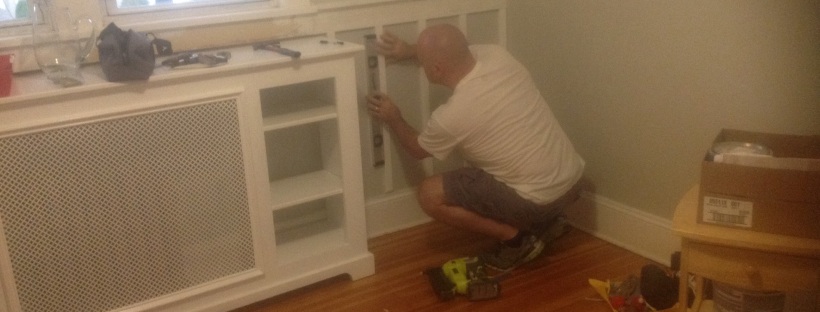
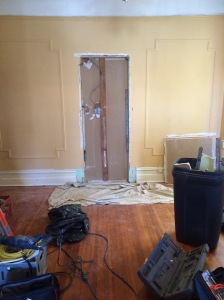
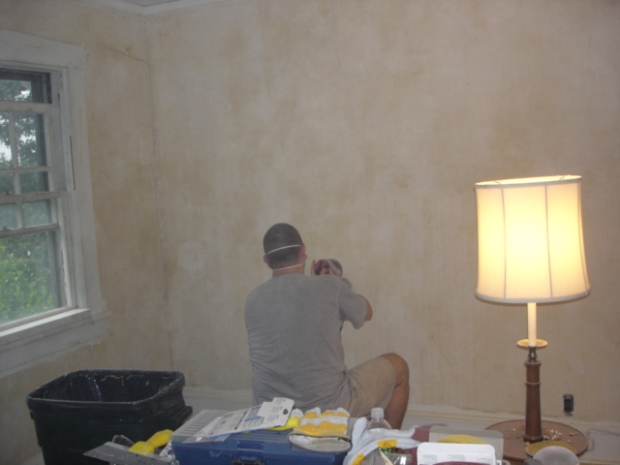
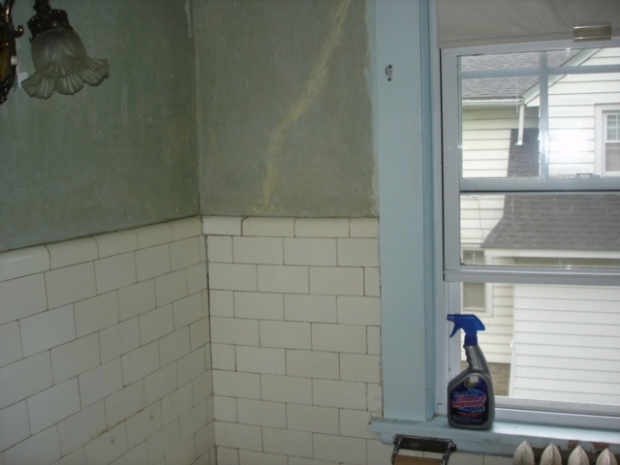
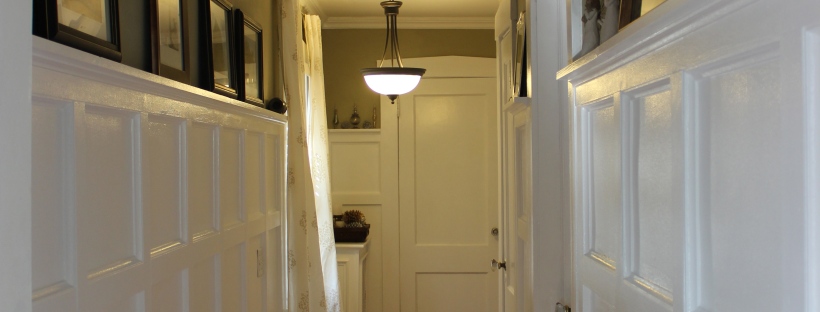
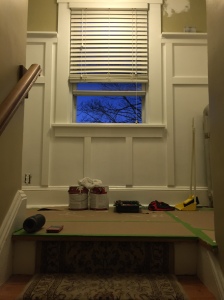
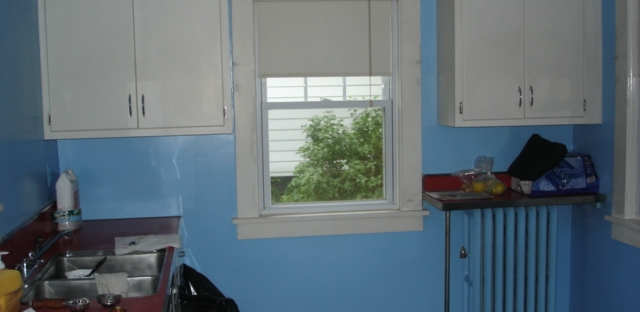
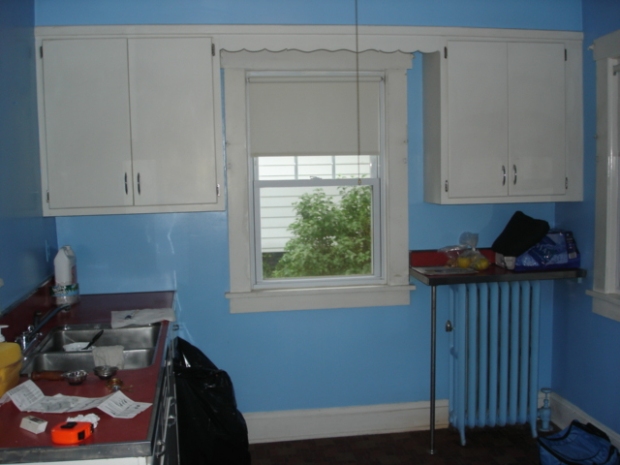
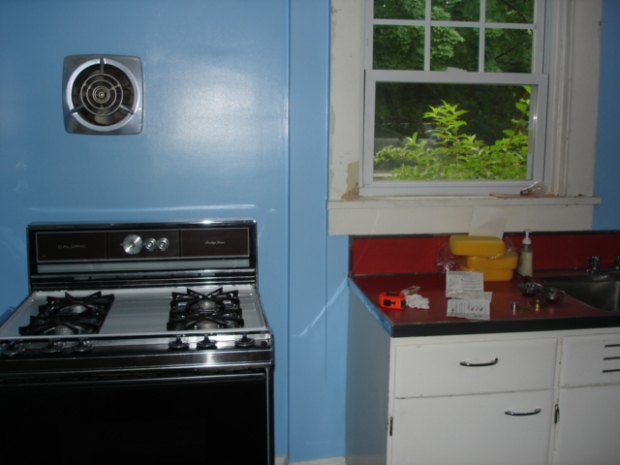
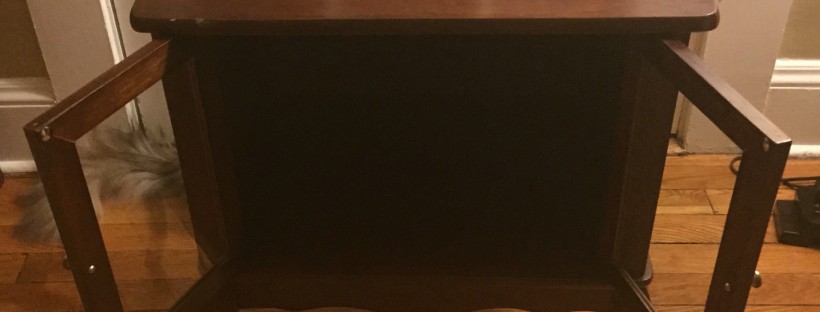
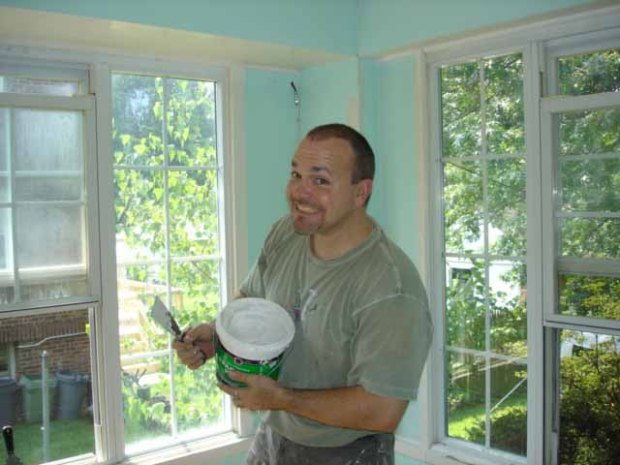
The photo above shows the original space that became D’s office… the same space that got this shelving unit and this lamp makeover by his talented mom. The lamp was barely salvageable. The gold metal paint was chipping away and it was covered in grimy dust, but I knew it could be given a new life so I unscrewed it from the wall and stored it away…for two years.
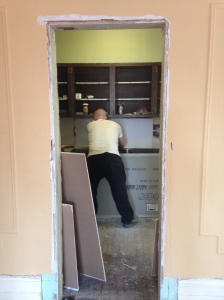
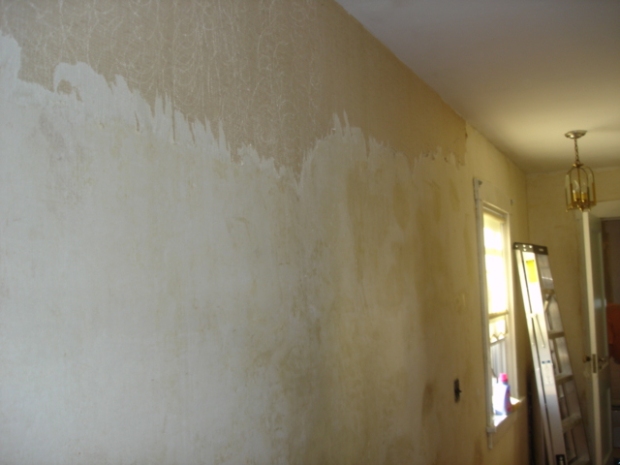
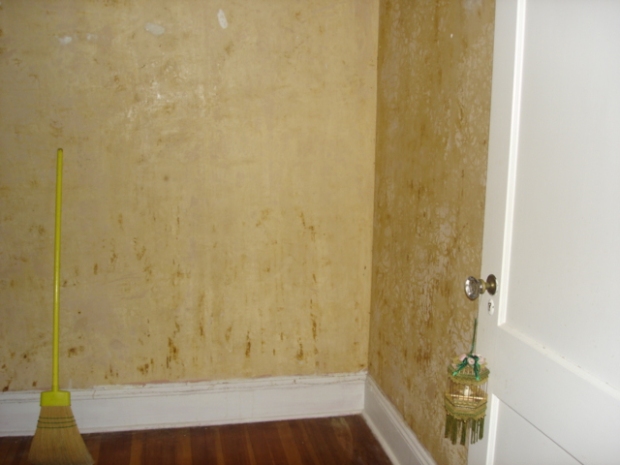
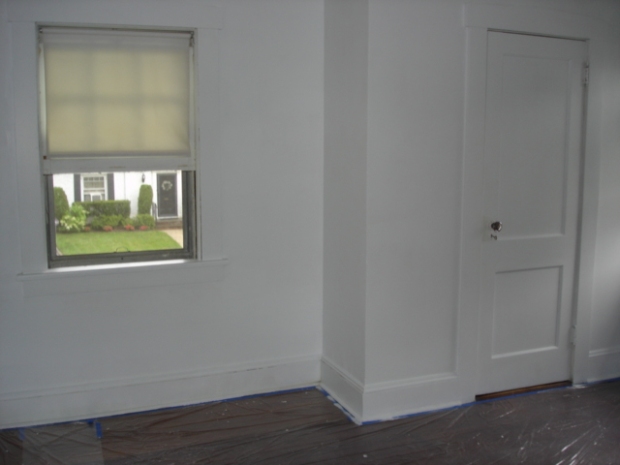
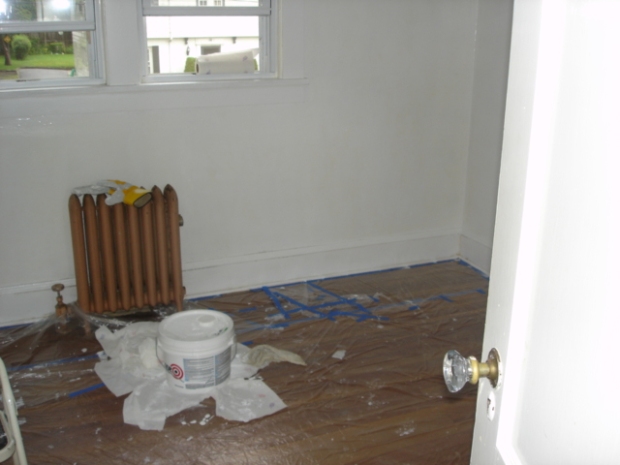
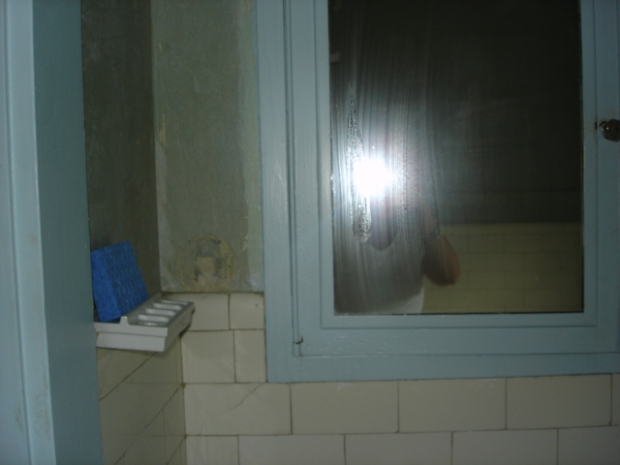
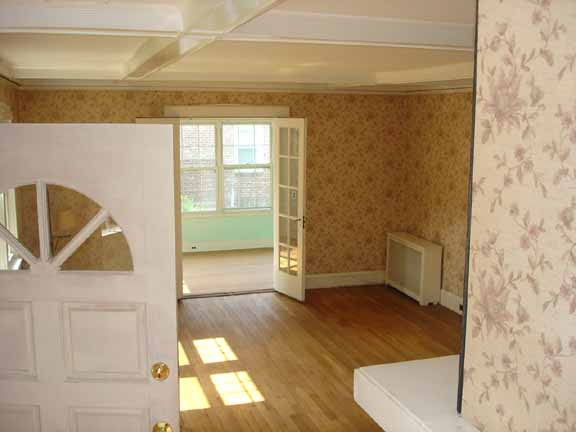
As we moved through the projects that were on this apartment’s makeover list, we decided the purpose of function of the rooms. A small front room, which we dubbed the “blue room,” became my multipurpose space. Knowing that I would have my own space for an office/relaxation/crafting/storage space kept me going through the daily dust and grime of the makeover.
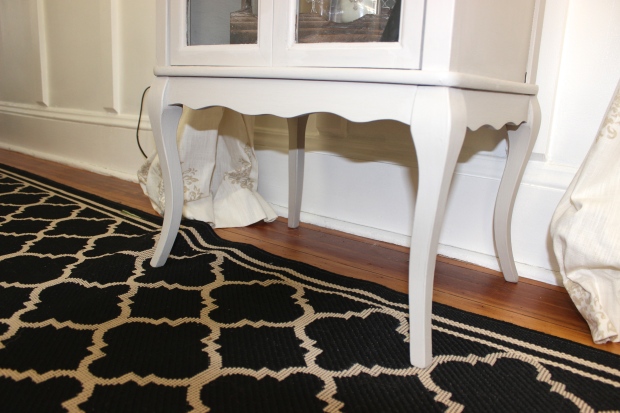
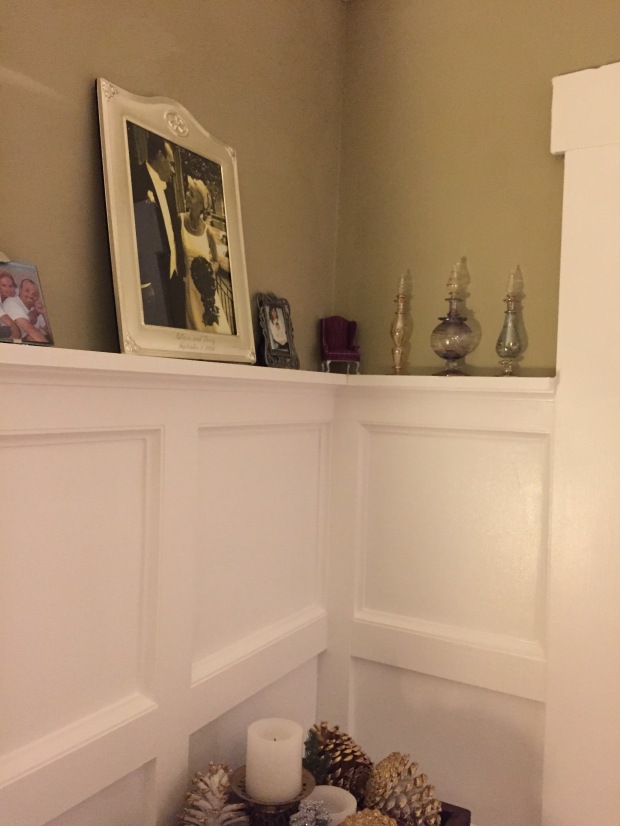
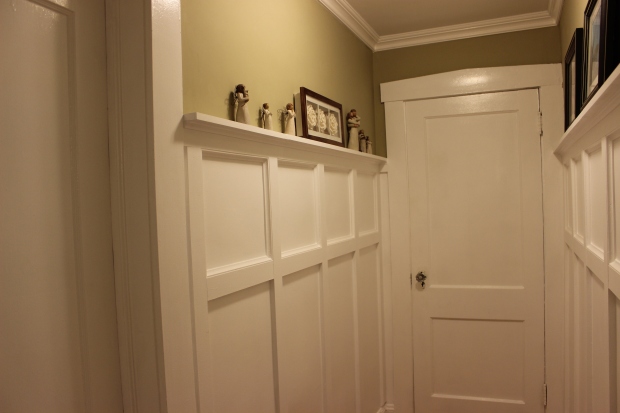
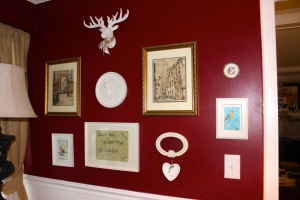
Finally, I painted the walls a nice light orchid-purple, accented with white original moldings. The color scheme for the apartment was purposefully neutral in color and gender to blend our decorating styles. But The Lady Cave Was All Mine. And purple. And feminine. And charming. And did I mention all mine? So the “Blue Room”…
This slideshow requires JavaScript.
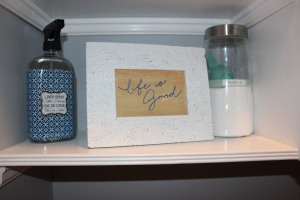
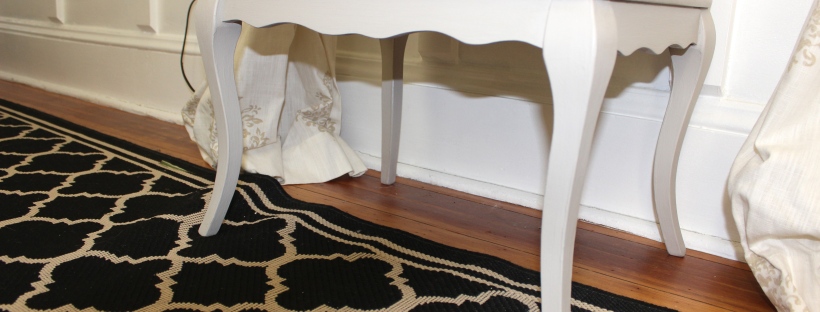
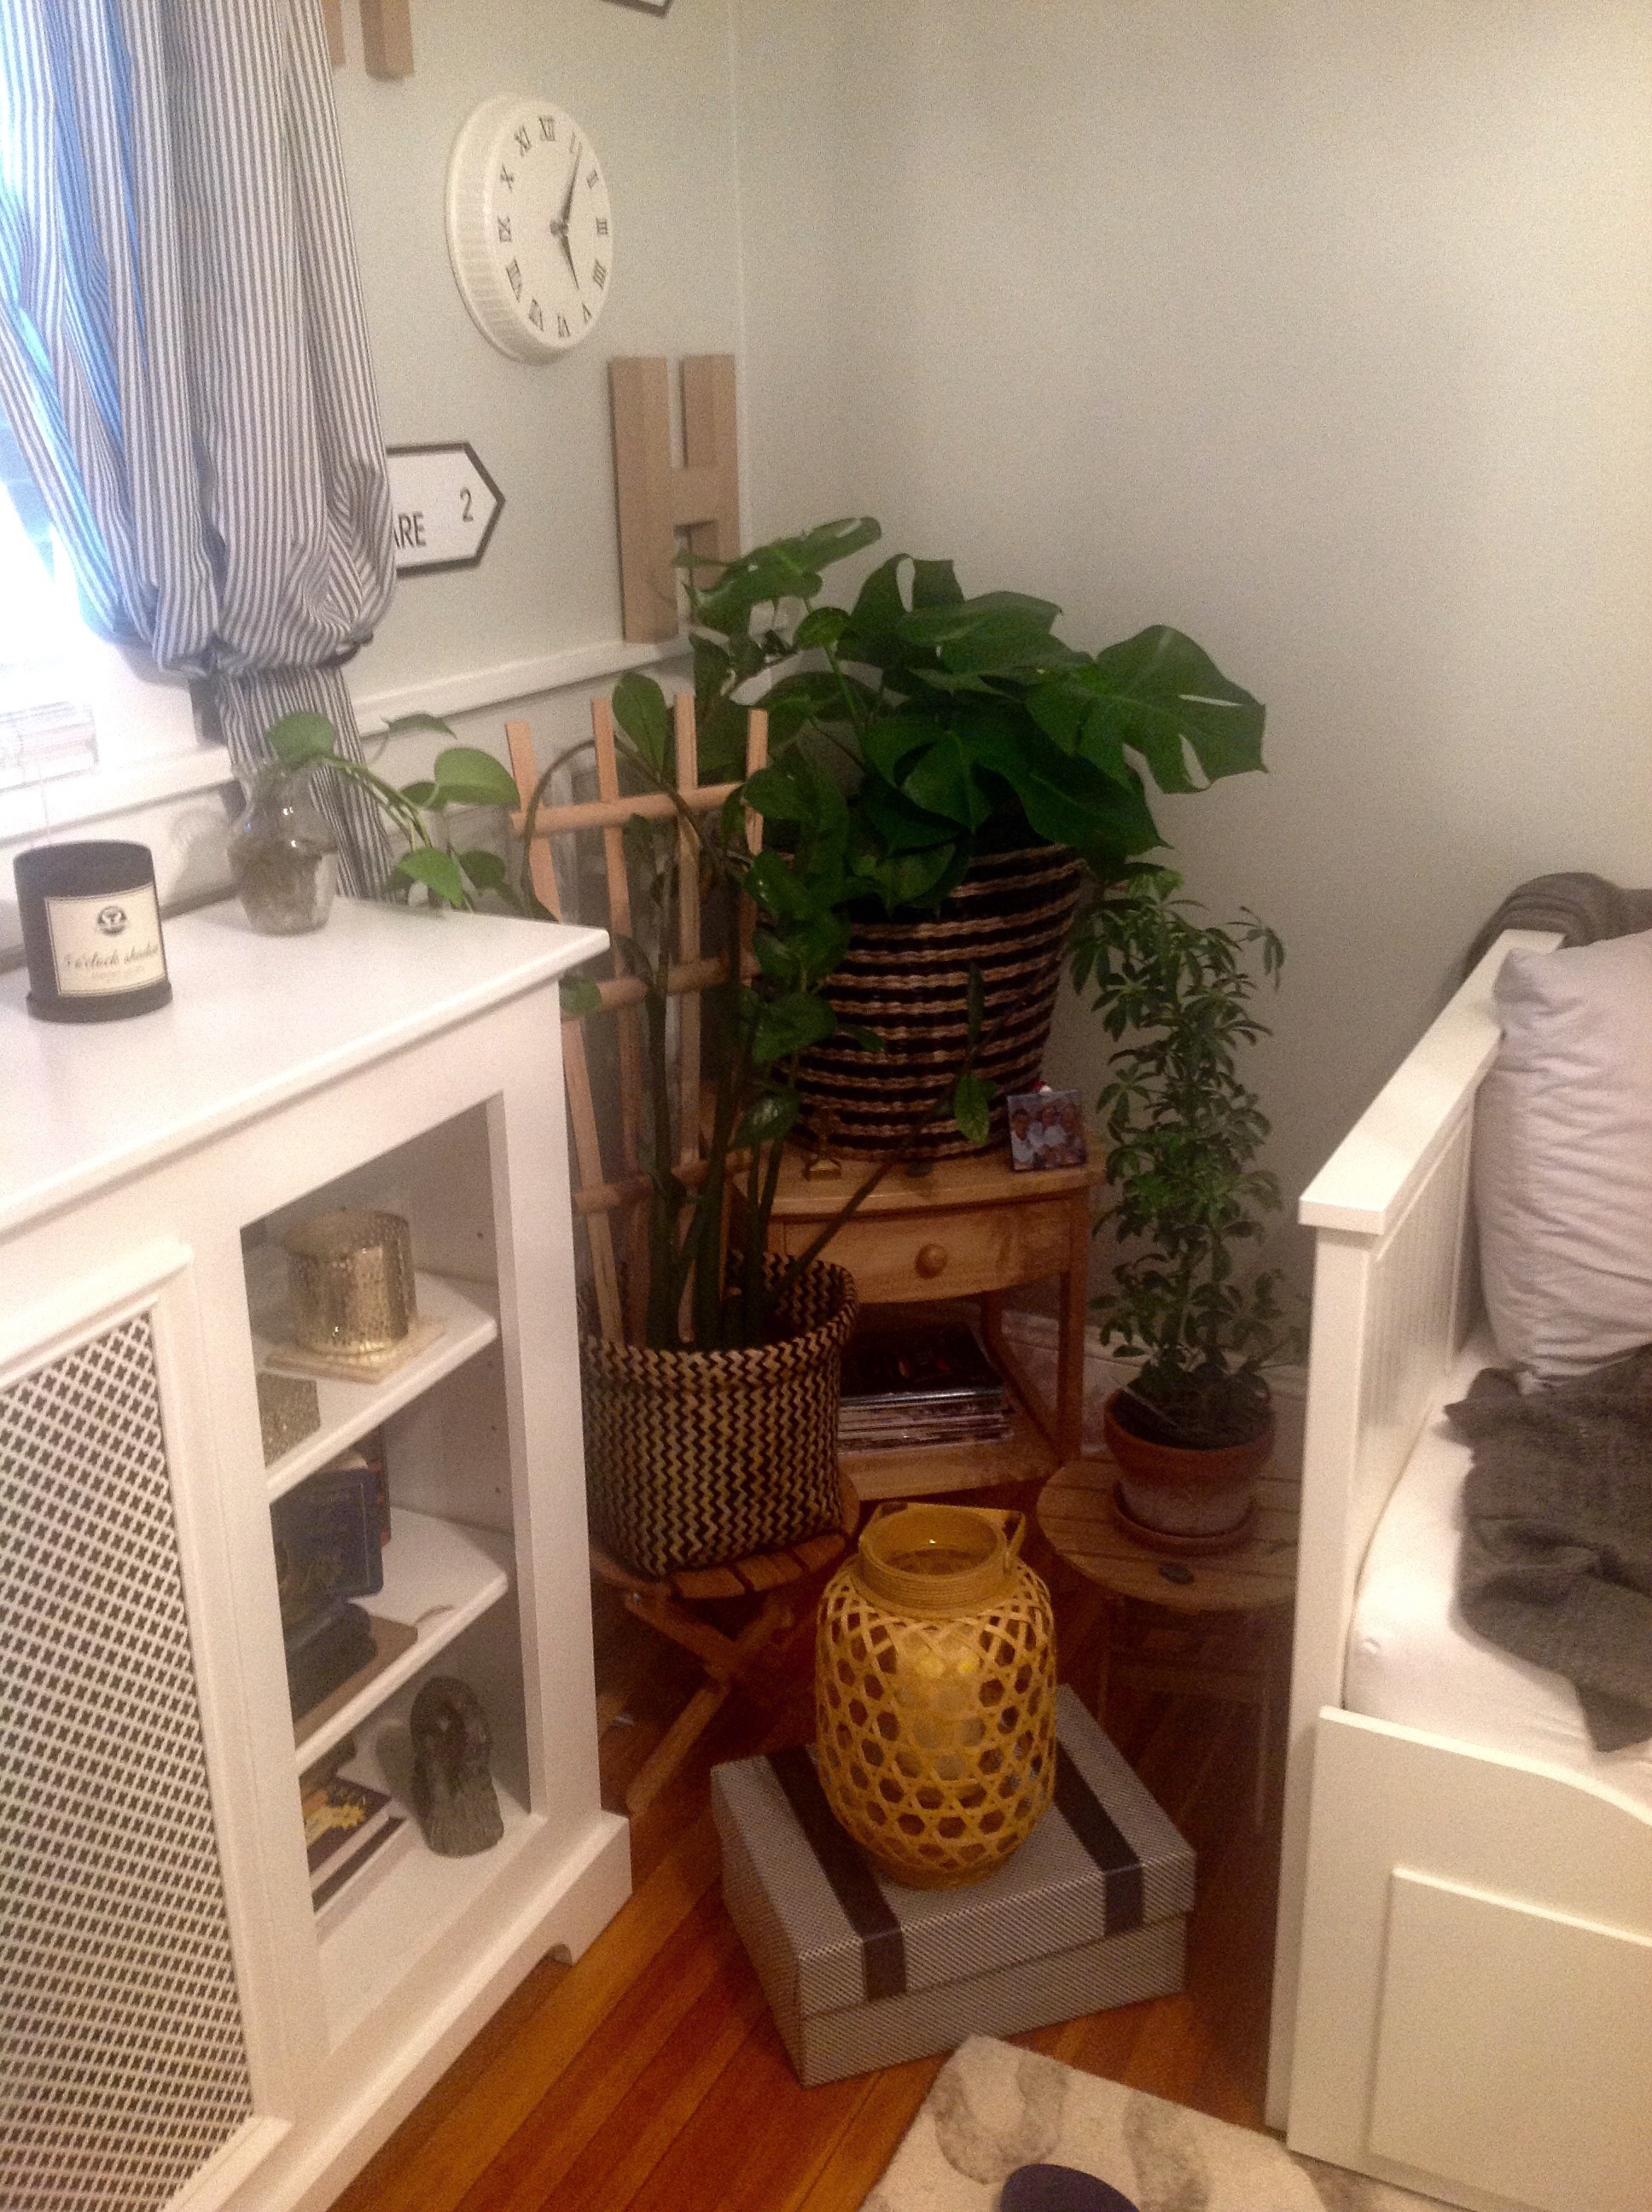
…got some styling! First I added a modern chaise lounge from IKEA for lounging. Then a traditional rug from HomeGoods, and some cubicle storage from Target.
This slideshow requires JavaScript.
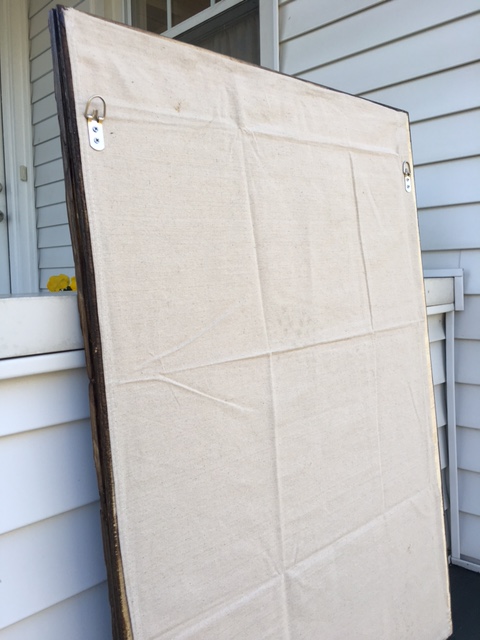
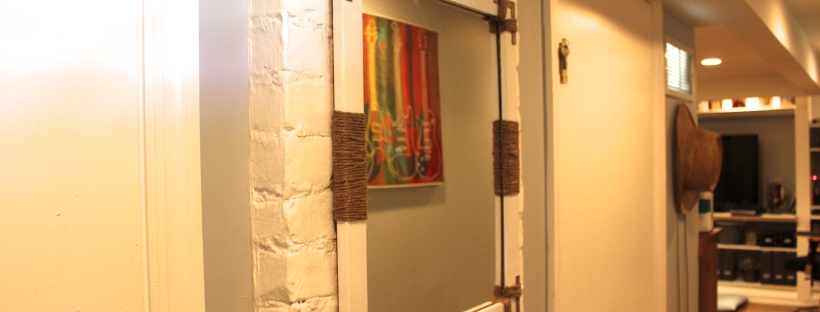
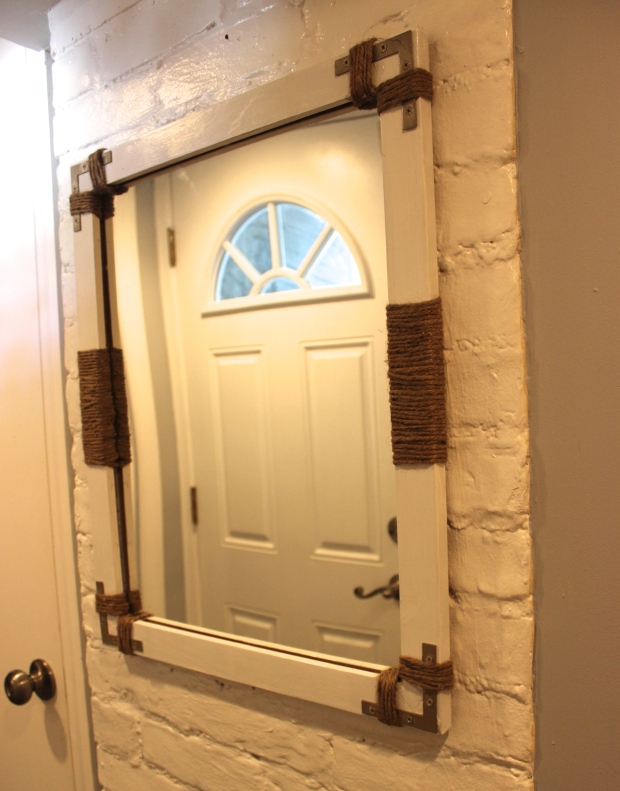
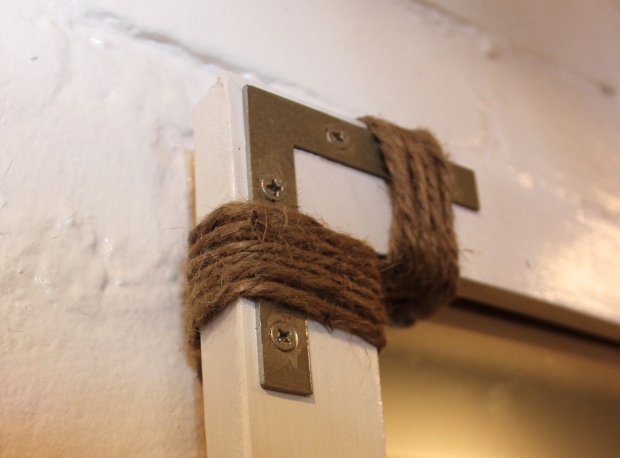
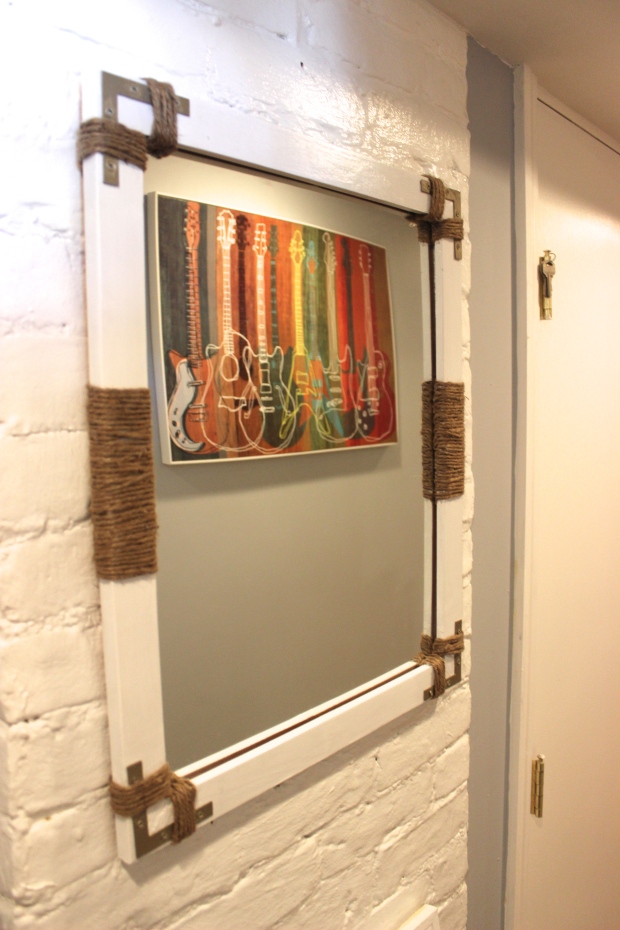
Then, a beautiful wood roll-top desk for drawing was donated by a friend of Houligirl’s, and a handmade bookshelf holds all of my books. Finally, I added a wall of mirrors to bounce light around this cozy lady cave.
This slideshow requires JavaScript.
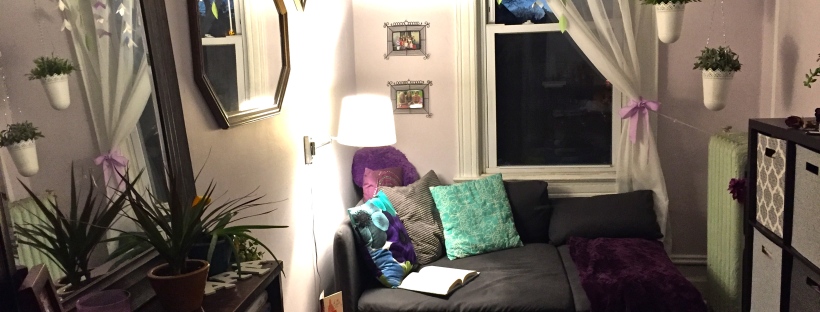
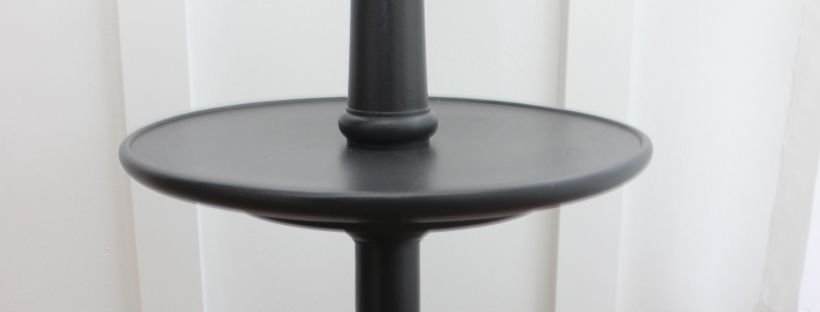
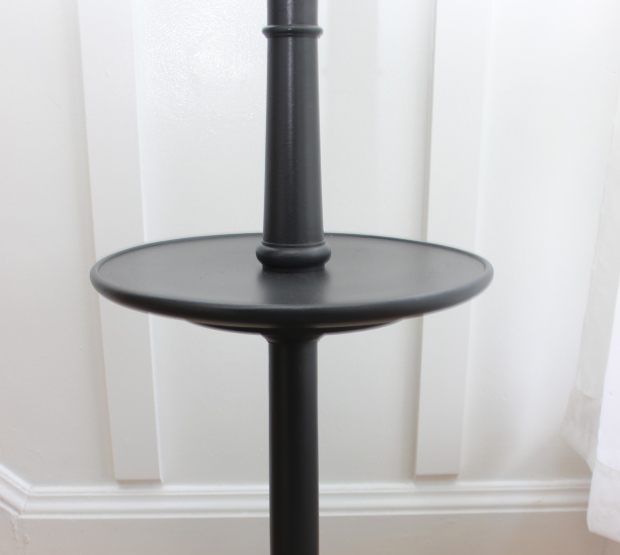
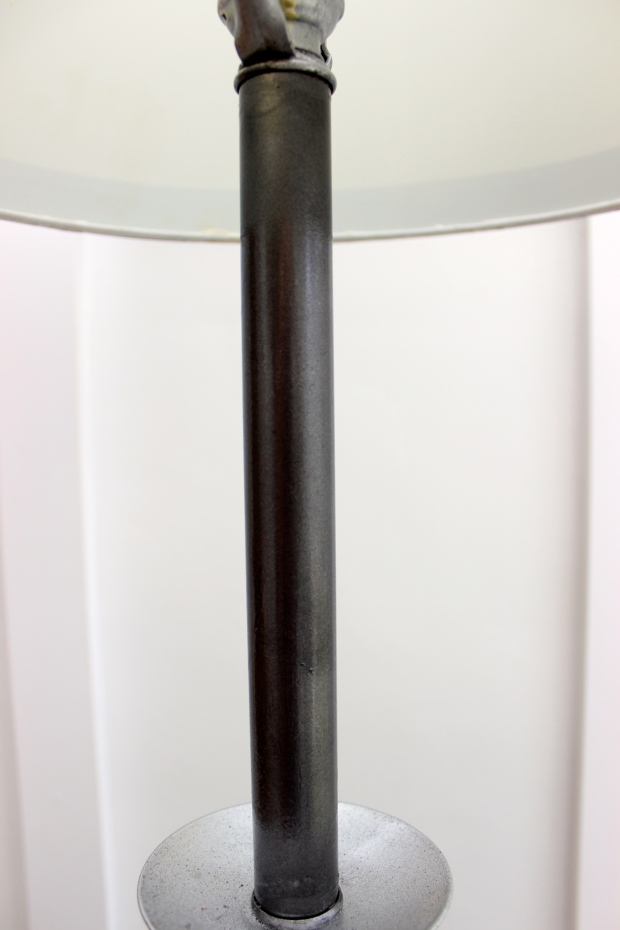
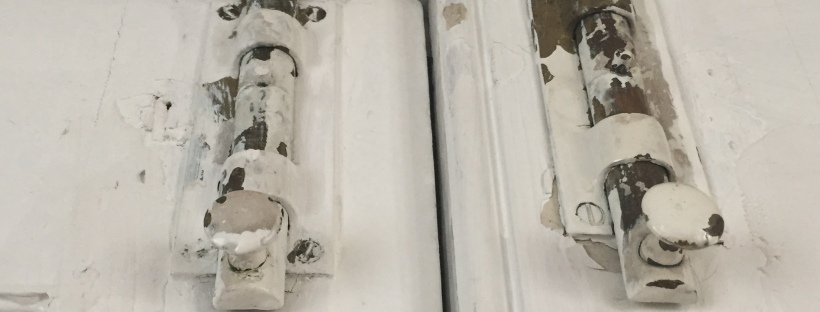
Speaking of books, this room is perfect for when I finally get a chance to sit down for a really good page-turner. I found the lighting wasn’t bright enough in that corner of the room and needed some sort of stylish solution. Enter, the “left-behind swing-arm lamp”! The light fixture worked just fine but needed to be cleaned and tightened up, from the first photo you can see the bulb was basically hanging out of it.
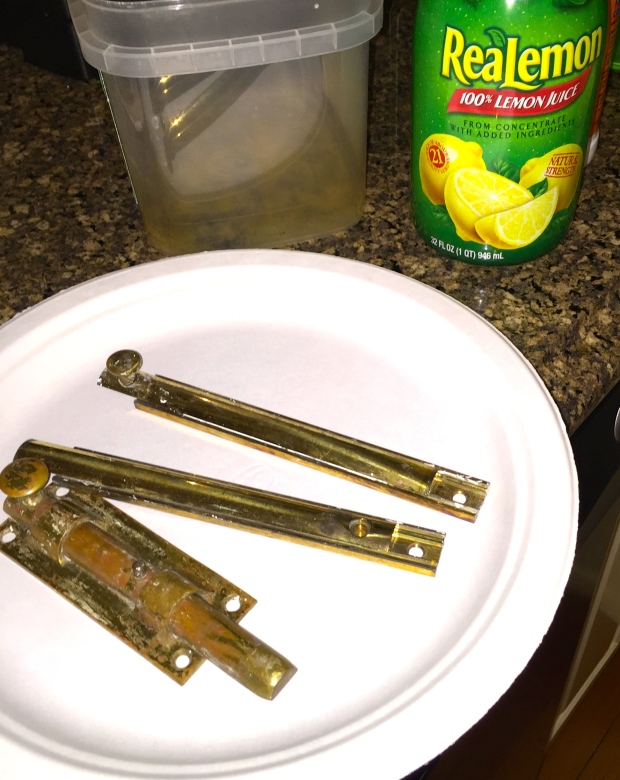
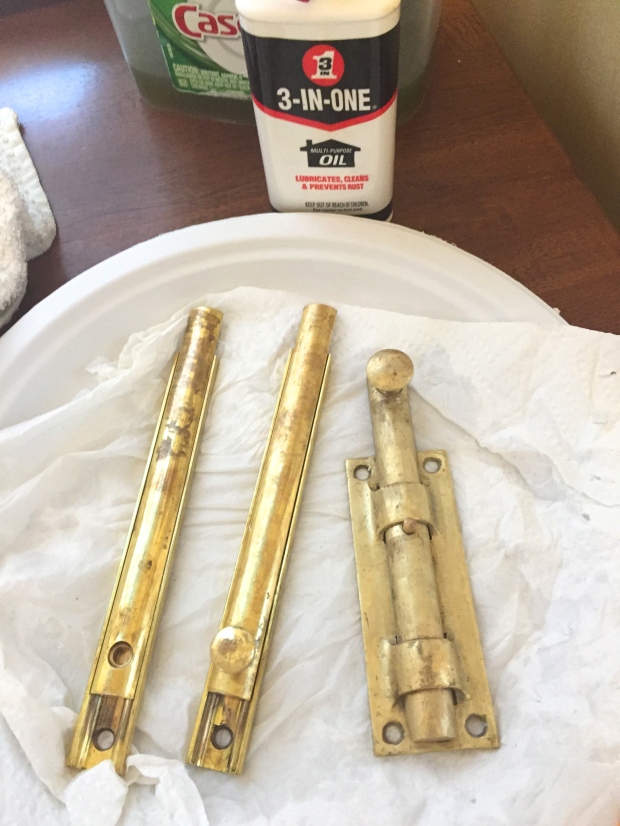
I used an air-spray bottle to shoot the dust and grime out from under the socket. No photos of this step because you really wouldn’t want to see that (yeah, bugs). I wiped the rest of the lamp down with a simple water and vinegar solution.
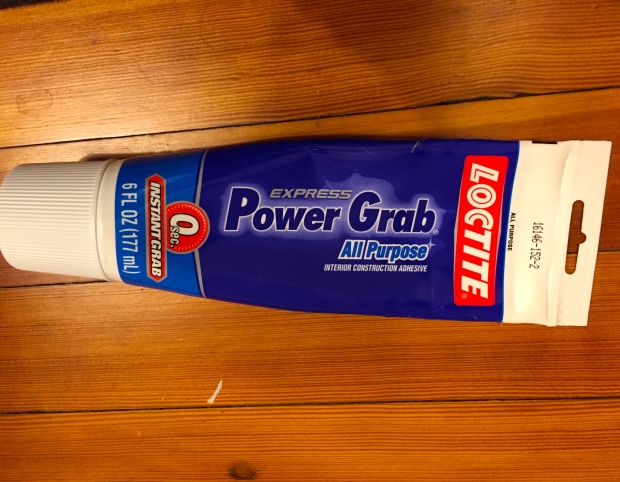
Next I took the less conventional route and used construction grade glue and a plastic ring to keep the bulb socket standing straight. The socket was wobbly and couldn’t be screwed any tighter, but now it sits perfectly!
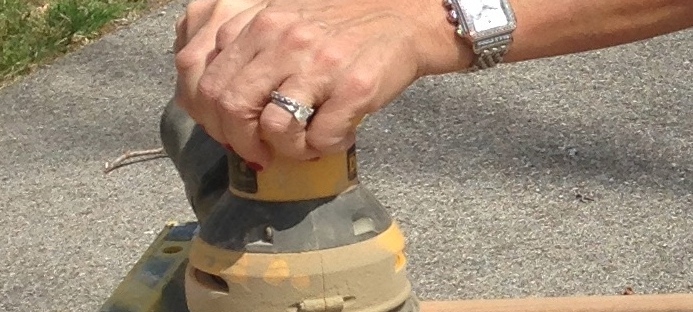
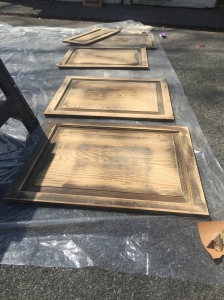
After laying out newspaper and plastic I got to painting; I chose this metal-safe silver spray paint for even coverage. A few coats later – painting, drying, turning and repeating a few times – the paint was done!

This Paint!

Spray Paint Magic
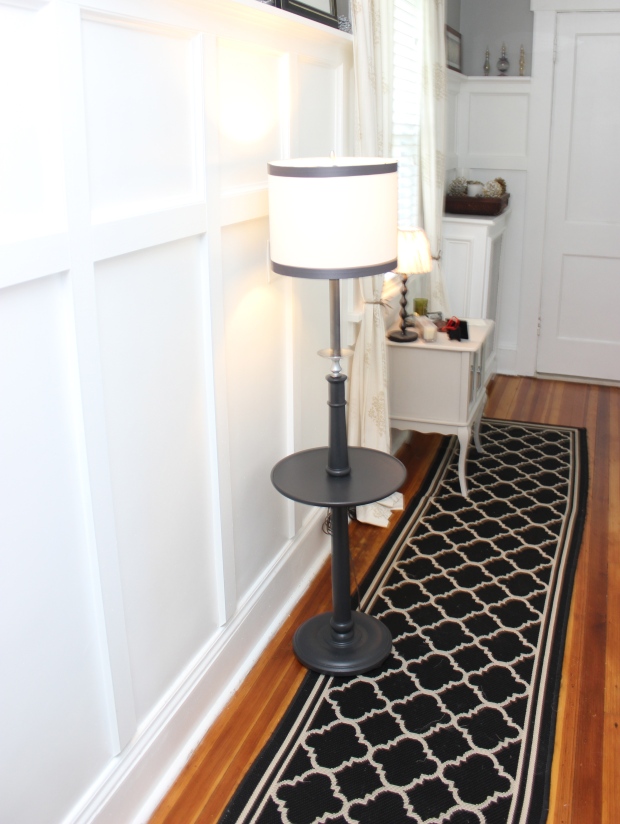
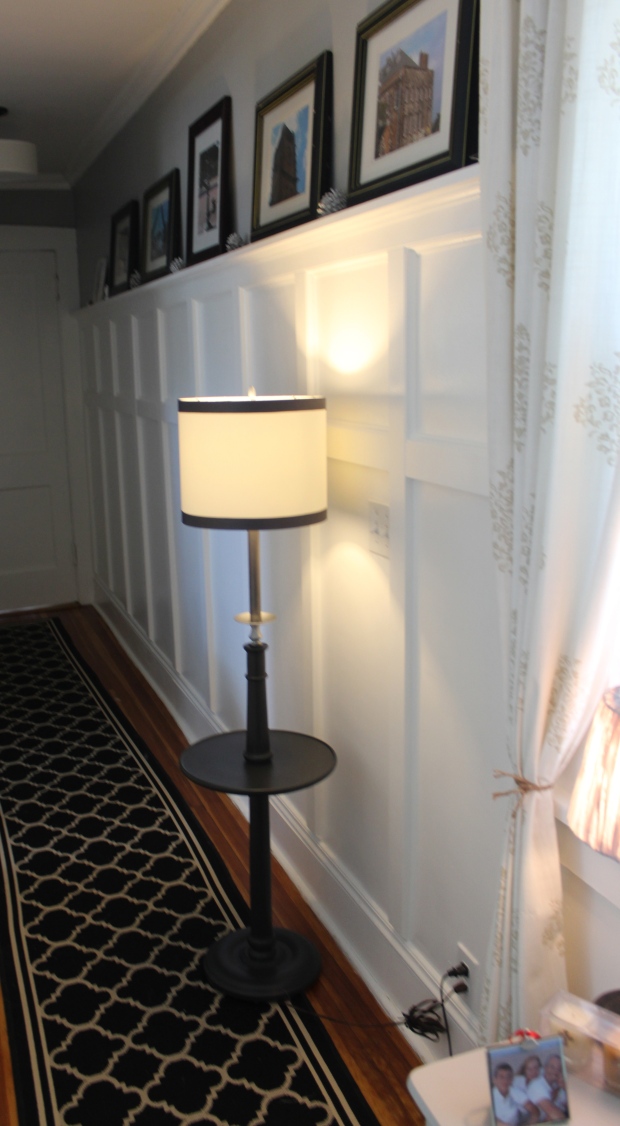
Two screws and this bad boy was up on the wall, just the right height for reading in my lounge chair. I added a lamp shade (Bed Bath and Beyond – they have a pretty nice selection!) that was textured but not too busy for the already busy room. And voila! Project complete!
")
Reading Nook
")
Swing-Arm Lamp Makeover
And here’s one more slide show of the progression of this space…
This slideshow requires JavaScript.
Yeah, you’ll pretty much find me in this spot all weekend!
Thanks, Daria. A DIY girl after my own heart. Here’s a break down of the money she saved with this DIY project:
Buying new: $60-80 vs. DIY: $25
Light fixture: free
Bulb: $3
Shade: $15
Glue: $3
Paint: $3
Hey, if you enjoyed reading this post, share it with a friend and leave a comment below.
#sharingiscaring
Be well,
Eileen
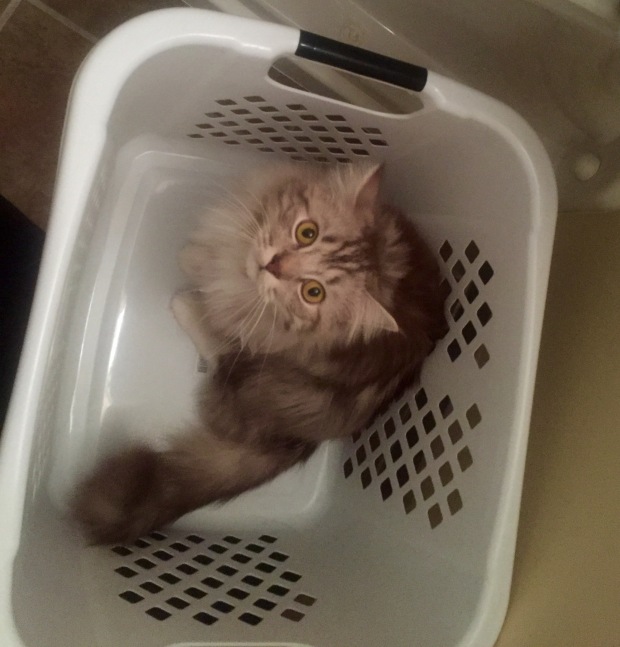
I’m watching you.


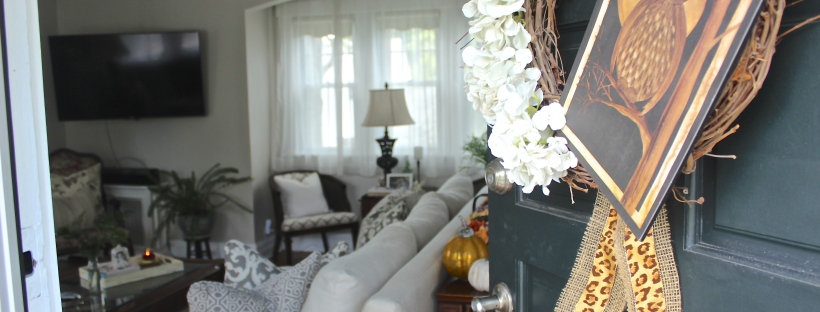


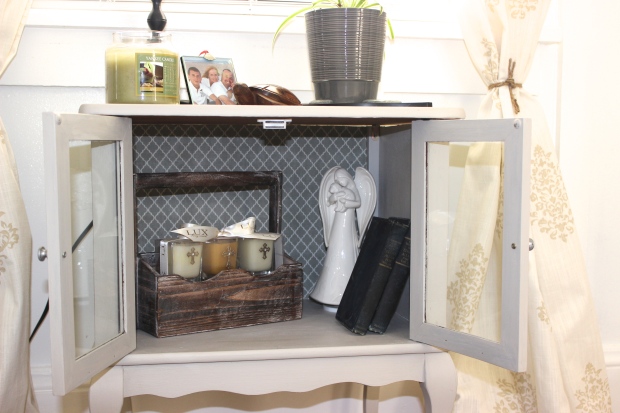


![door-open[1]](https://houligirl.files.wordpress.com/2014/12/door-open1.jpg)


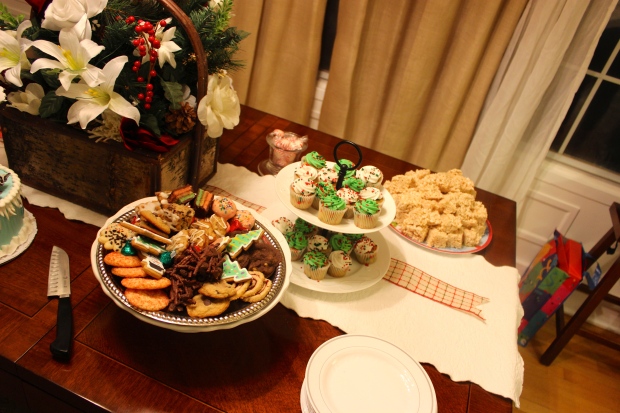


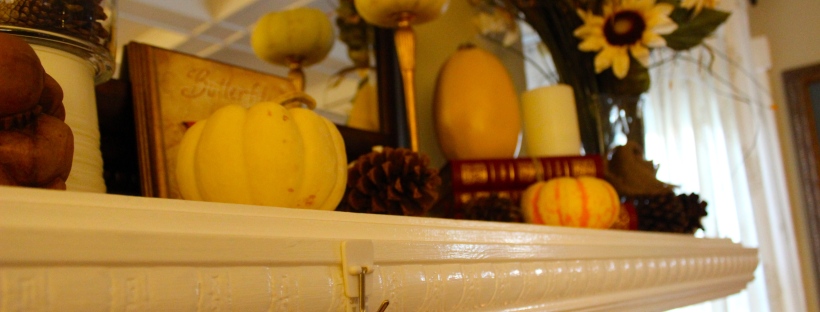
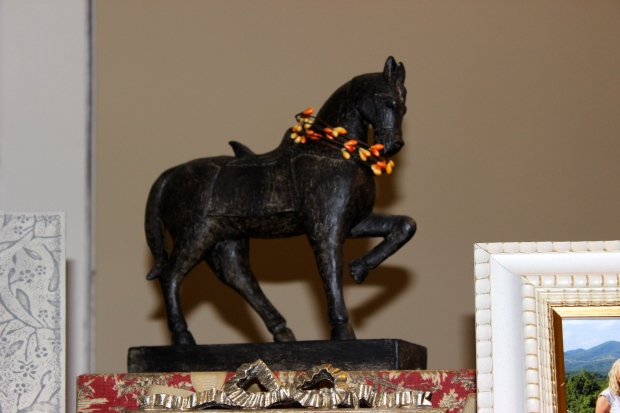

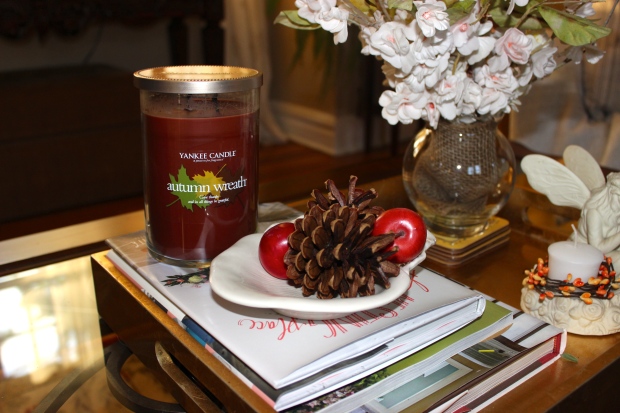
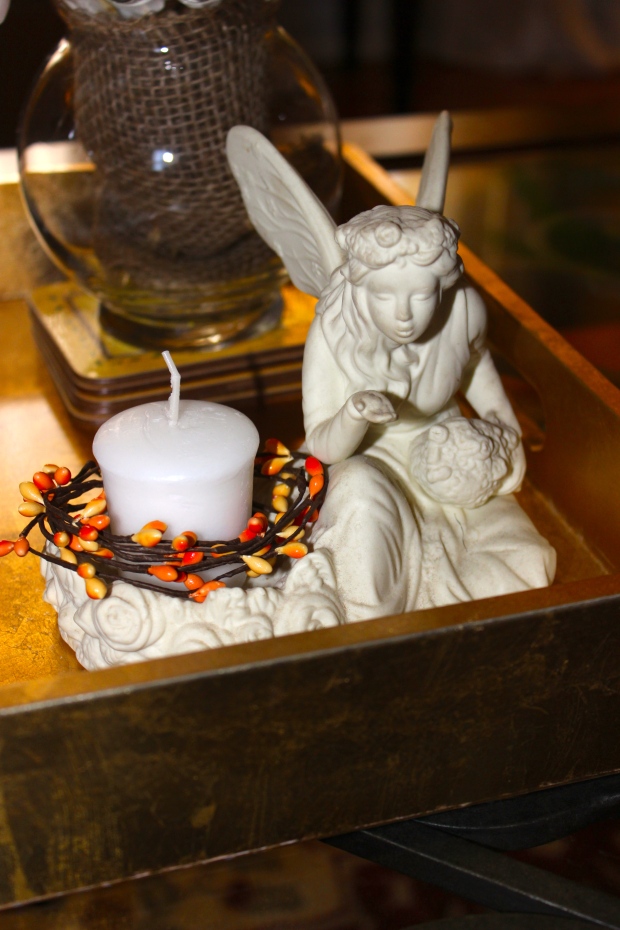 I keep my decor pretty simple for fall because I tend to do my most elaborate decorating during the Christmas season. My coffee table tray display got a few small changes…
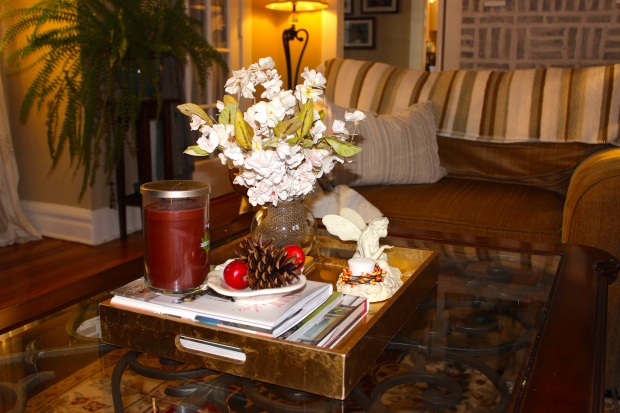


