Hi Friends,
Happy August! A teacher friend of mine compared the summer months to a weekend in the following way: June is Friday, July is Saturday and August is Sunday. Anyway you look at it, summer is flying by and we have arrived at the “sunday of the summer.”
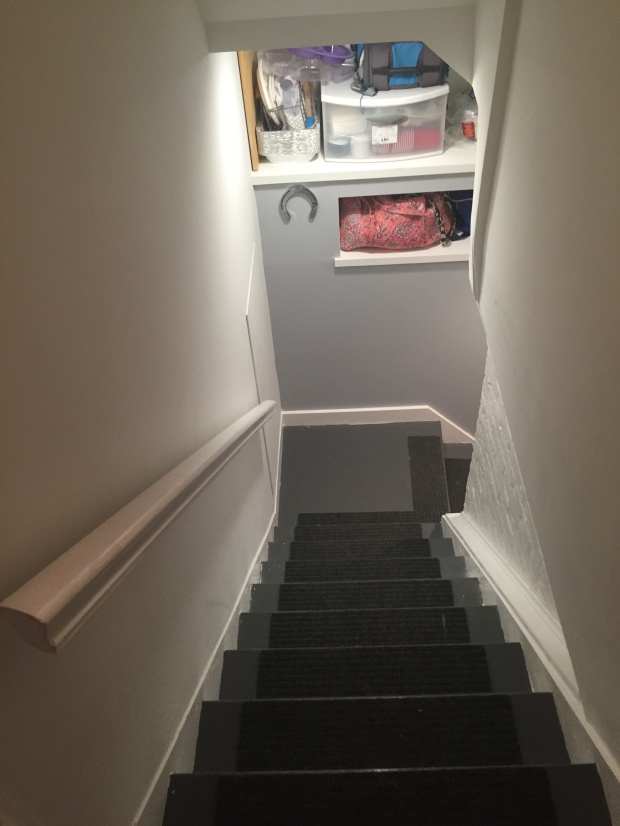
Today I have another “after” to share with you, but before I do I’m taking you waaaaaay back to the beginning. Remember the series of blog posts entitled “Before The After” where I showed you what our abode looked like when we bought it? Well, in Before the After: Part 4, I introduced you to our scary basement. I mean…would you want to walk down these stairs? SuperHouls tried to tell me it wasn’t so bad. Ha! I’m the one who does the laundry, so easy for him to say!

Basement Stairs Before
And here’s that same view today…
Not so scary stairs, after.
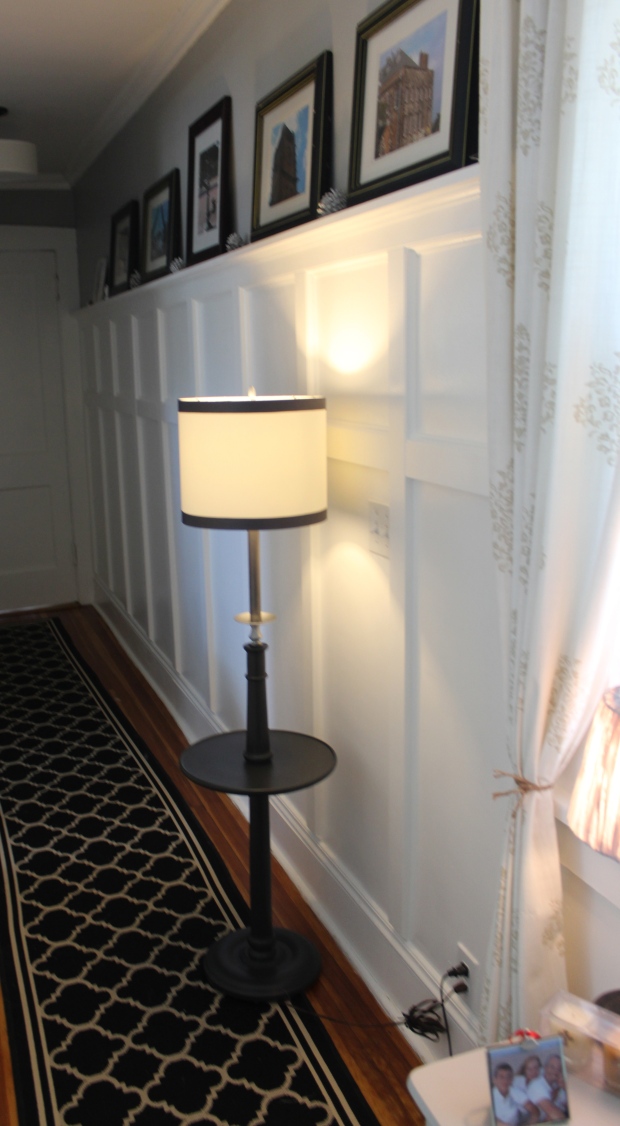
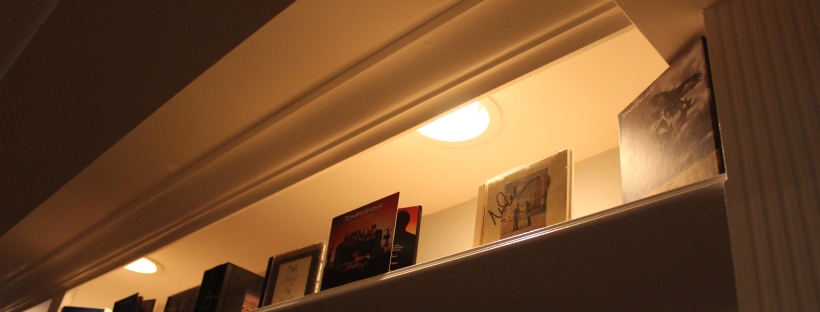
These stairs lead to the Man Cave and the laundry room. Now, let me jog your memory on how the laundry room space started and be sure to click on the pics for a larger view ’cause I really want you to get the whole experience of the space before we tackled it:


What a messy, raw, unfinished space…with water issues everywhere. Think old-school cellar. Again I ask, “Wait, why did we buy this house?” ” Oh, right, we had no idea what we were getting into!” How far we’ve been dragged come.
Thankfully, two years into this fixer-upper, I got SuperHouls on board with finishing this space because he really needed his own place for his office and music…wink, wink. And, of course, we needed to add a bathroom while we’re at it because…that’s a no-brainer. So we hired out to a carpenter, plumber and electrician to finish the scary basement. It. Was. Quite. The. Project. It took a few months and unexpectedly included adding a french drain and sump-pump on the perimeter of the house. Yeah, we were lucky enough to buy on the side of the street that is on a downward slope. And while we’re at it, why not add a patio out back and rear entrance. See how that happens?
But back to the laundry room. After moving the heating pipes, updating the electrical, adding plumbing, framing and sheet rocking the walls, and adding new windows, SuperHouls and I painted. Then he installed laminate wood flooring in the Man Cave and tile in the bathroom/laundry room. I’m exhausted just thinking about it. Can I get an Amen, sista!
A few months later, it was clean…and functional…and beautiful compared to how it started. BUT. I knew it needed some additional storage solutions before we could officially call it finished. I mean, do we really need two windows in a small space? Um, no. I needed storage cabinets! SuperHouls was ready to tackle it this summer – while I was away – and began working on covering up a window to add storage on the back wall. Sorry for the dark iPhone photos:


We are now calling this room done! We’ve got storage, we’ve got a hanging area, we’ve got open shelving, and of course plenty of room for decorative touches. Ready? Come on in…
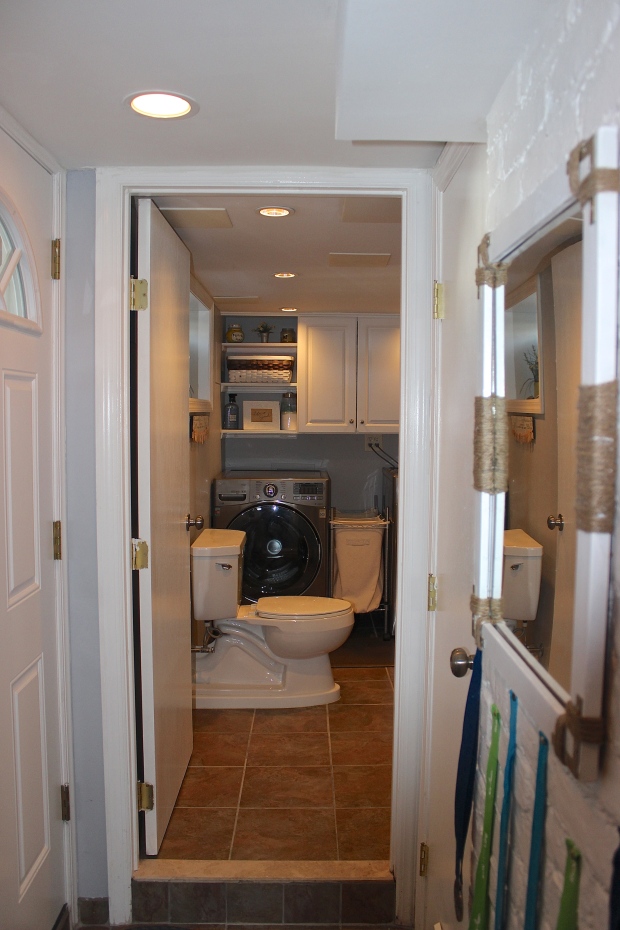
Looking in from hallway.
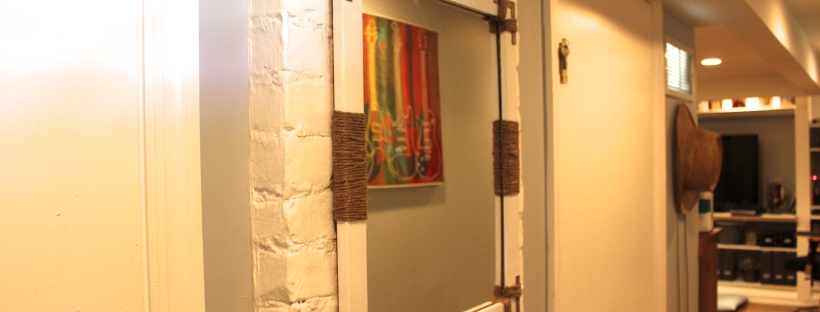
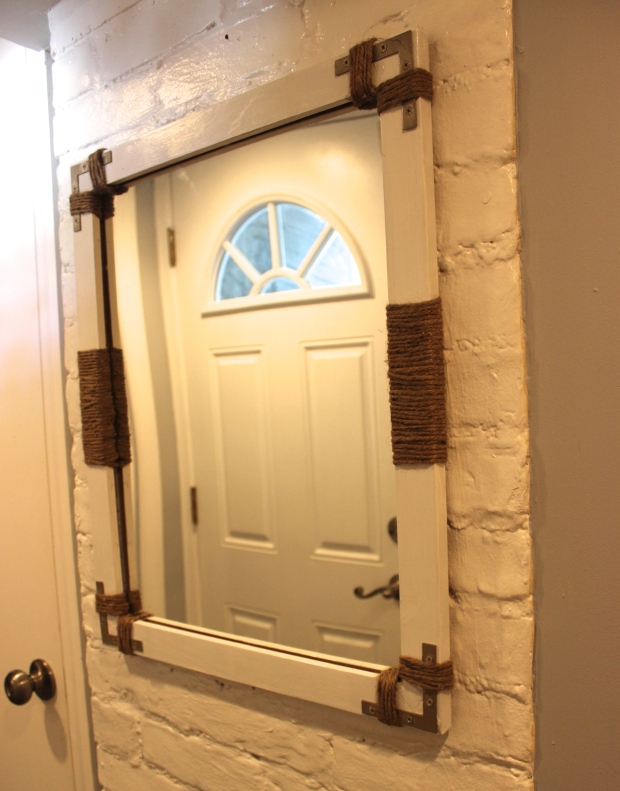
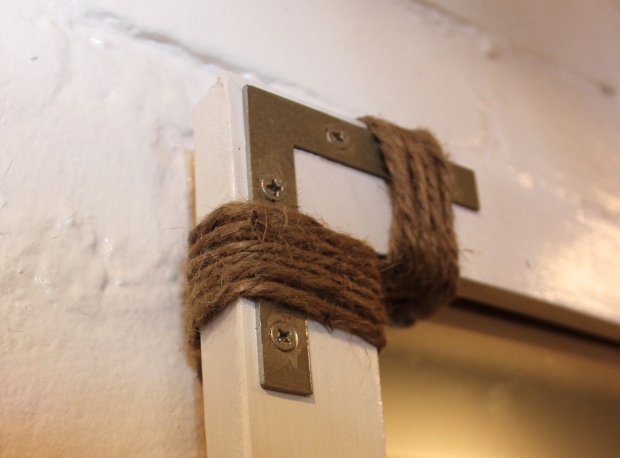
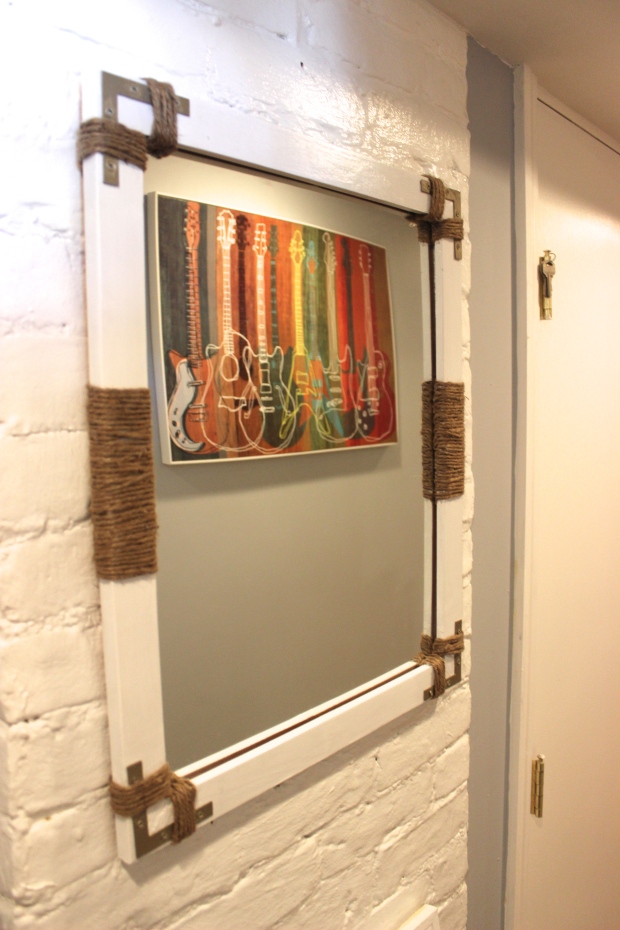
Notice the mirror on the right in the hallway from my mirror makeover post? How about the toilet bowl right in front of you? If I had to do it again, I’d lay it out differently, but hindsight is 20/20, right? Remember this is a bathroom/laundry room two-fer…’cause why not? It’s also the bathroom off the patio that we send friends and family to when entertaining. OK, lets take a closer look at what SuperHouls accomplished…
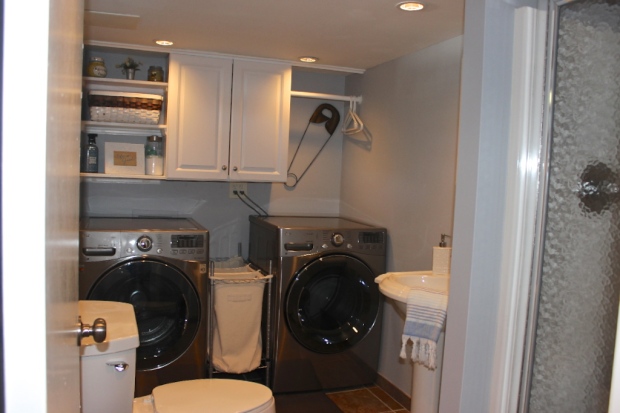
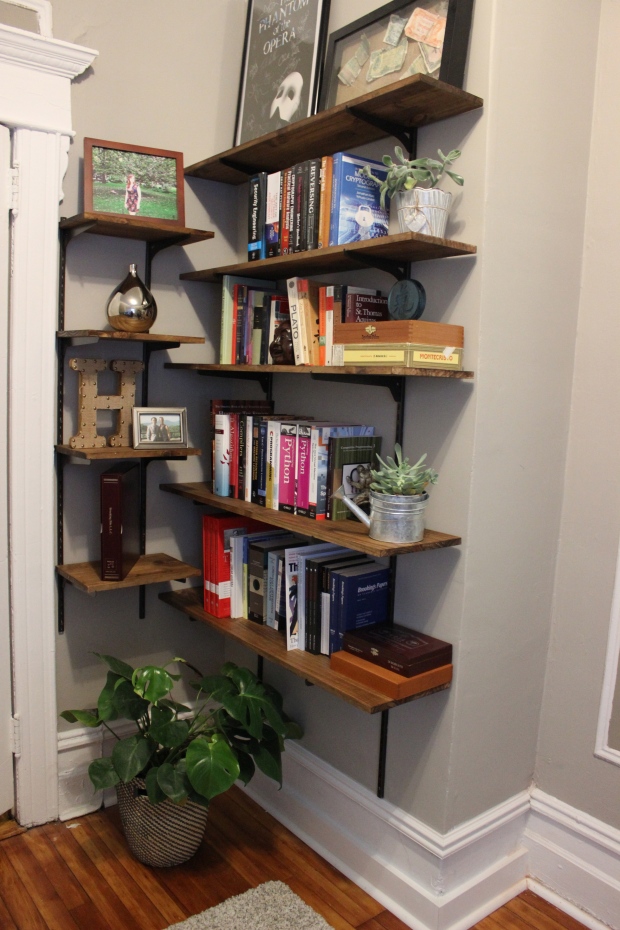
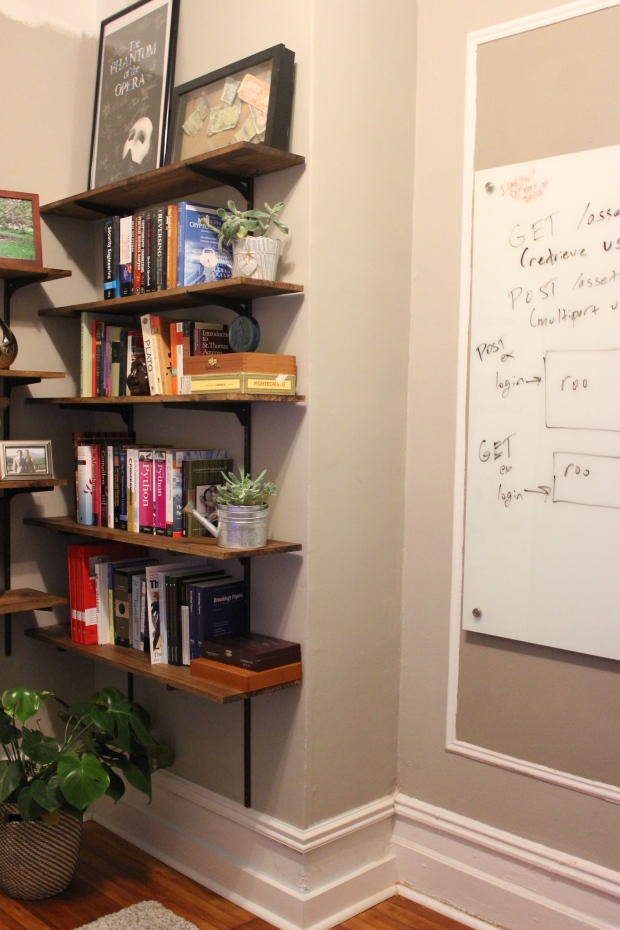
Laundry Room Organization
In the above photo, the sink and the shower stall come into view, giving you a better idea of the space. The cabinet is where the window was. I wanted open shelving on its left and a hanging rod on the right. What I really wanted was a cabinet on each side and the hanging rod in the center, but we had to keep the right side accessible for the vent pipe. So, this is essentially a workaround design. I’m quite happy with how it all turned out: beauty meets function. Down the road…wait, did I say that?…I might want to add a shelf across the top of the machines, but for now…its all good…and laundry day is much more pleasant here at the abode.
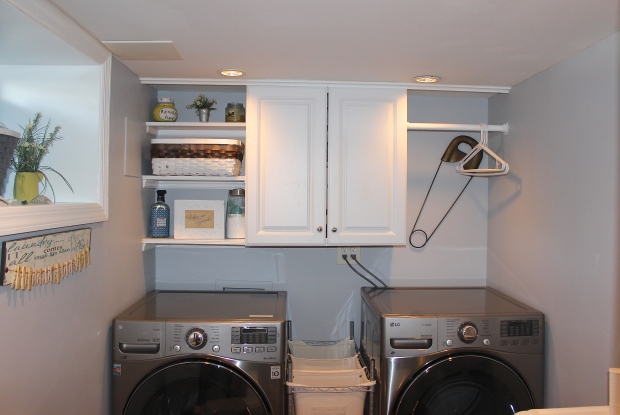
Laundry Room Back Wall

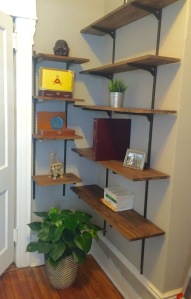
Laundry Room – Open Shelving
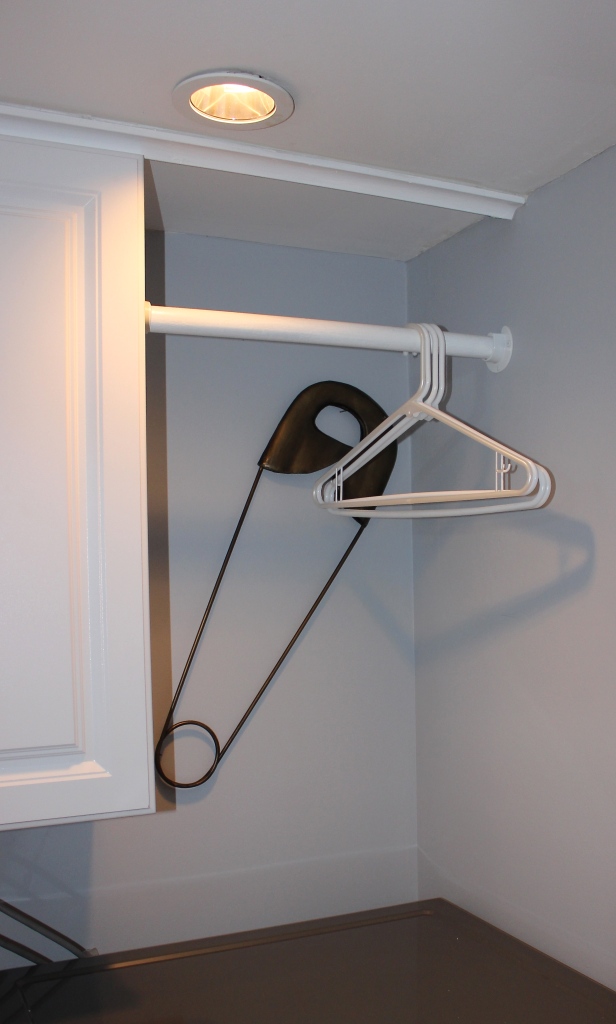
Laundry Rom – Hanging Rod
-
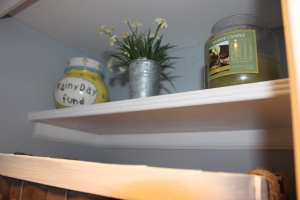
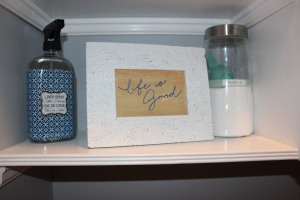
- Open Shelving – Styled
-
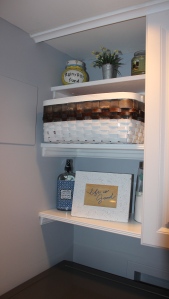
- Open Shelving – Styled
-
- Open Shelving – Styled


We did keep the window above the toilet. I hung a cafe curtain and kept the upper part of the window uncovered so the light can still shine through. Having it recessed and boxed in provides me with another shelf to accessorize. If you accessorize these spaces they are less likely to become catchall places…which, don’t even get me started!


And one last before and after…


What a transformation! Right?
Hey, if you enjoyed this post, leave a comment below and then share it with a friend.
#sharingiscaring
Be well,
Eileen

Romeo & Floyd – The Inspectors