
Hi Friends,
I’m not even going to go into how long it’s been since I’ve written. I’ll just jump right in and say, “My apologies for being a neglectful blogger!” Sometimes life on life’s terms gets messy busy and we need to just ride the wave.
Happy Thanksgiving!
I was able to spend some time with family and friends this weekend, which is exactly what I needed. I didn’t run around shopping like crazy. I didn’t pull all my decorations down from the attic and get busy. I just spent time being. In between being, I worked on a project for my son, D. Here’s the back story on this project…
About two months ago D & D stopped by with a well-used, but solid cedar chest that he had inherited from a friend. D thought it would be a good storage piece for his home office, and was wondering if I would fix it wanted a project to work on. Into the garage it went and there it stayed until this weekend when I had enough down time to tackle it.
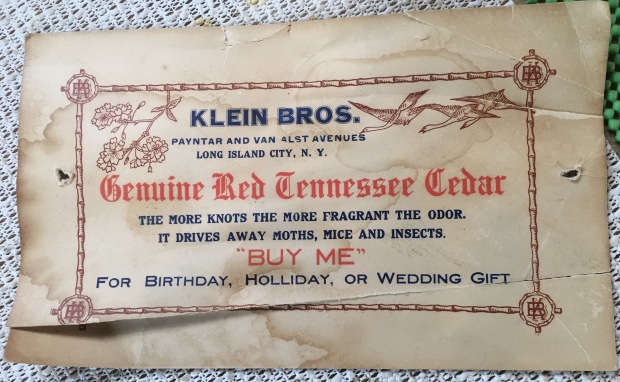
The chest is made of Red Tennessee Cedar. Red cedar is easily recognized by its color, variations and knots, even when it’s no longer fragrant. I also found this label inside the chest and learned that it was red cedar from Tennessee. Apparently there are various types of cedar wood and red cedar comes from various places. Who knew?
The top of the chest had a corner missing and the left side panel was completely broken off. The hinge in the back was also bent, so I’m assuming it lacked the proper support to hold the lid up without it falling backward and overextending the hinge. The photos below show the missing side panel and the remnants of masking tape that someone…somehow… thought would work to put Humpty Dumpty back together again secure the broken panel.


After removing the hinges and lid, I broke out the power tools and got busy sanding…and sanding…and sanding. I sanded the exterior three times with our DeWalt Orbital Sander, moving from course to fine grade sandpaper. I also lightly sanded the interior to release the cedar fragrance. Then I got SuperHouls on board for repairs and had him re-attach and reinforce the broken panel with brackets, after applying wood glue. We also added three brackets to the right panel as reinforcement and because I like symmetry.
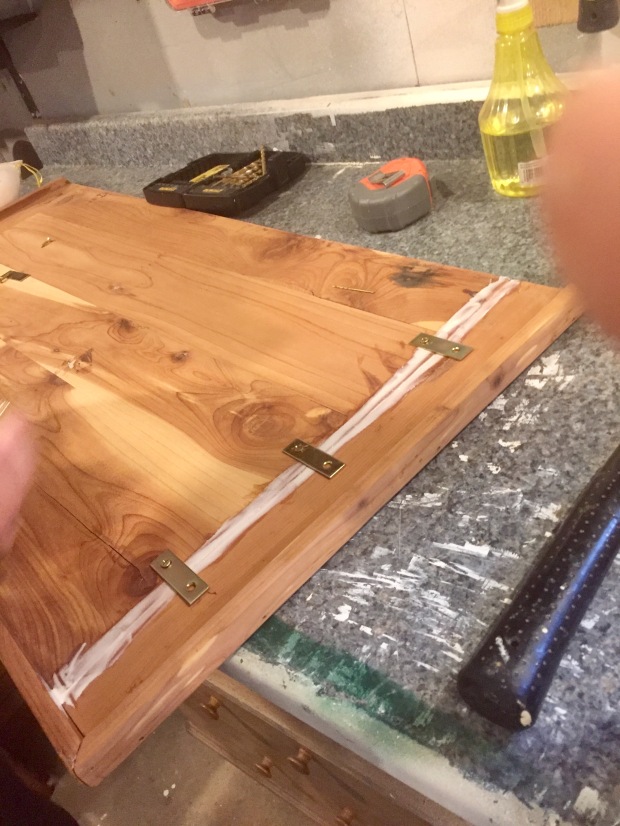
Then we turned the lid over to apply wood filler for the side panel. In the right photo below you can see the line of wood filler that runs vertically. We also added lots of wood filler to build the missing corner.


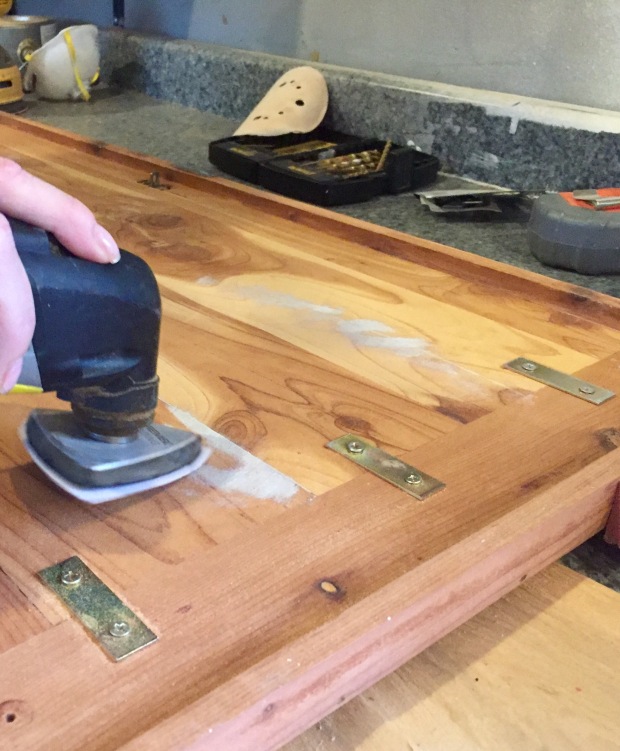
This wood filler dries in about 30 minutes. We had to give the corner a few applications to build it up. Then we broke out another power tool, our Dremel Multi-Max 30. This was my first time using this tool. It was perfect for getting into the corners, and for sanding away the extra hardened wood filler.
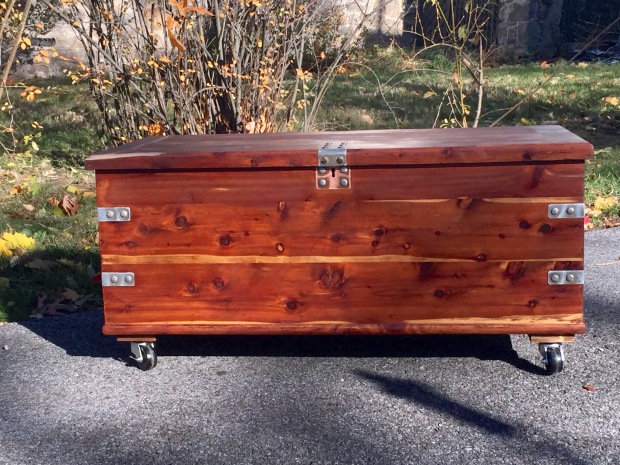
After sanding and repairs, I gave the outside a coat of my favorite stain – and then a coat of wax to seal it.


Once the stain and wax were dried, SuperHouls added some new wheels to the bottom and re-attached the top lid. Finally, we added lid hinges to ensure the top stayed open on its own and didn’t extend back and bend the hinges.
I’m also envisioning this chest being used as my future grandchild’s toy chest one day, so I wouldn’t want the lid to fall forward and hit anyone in the head or cause bruised fingers.


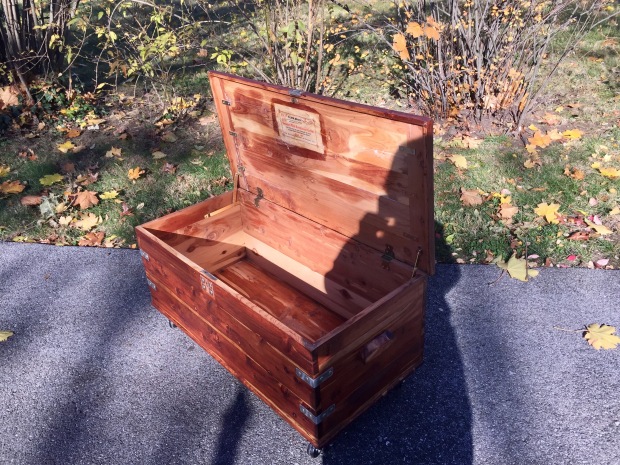
Finally, I used glue and mod-podge to secure the label to the inside lid and called it done!


I wheeled it outside and took some final photos in the daylight before it got picked up and moved to its new home.
Then I went for a manicure.
All in all, not a favorite project of mine and definitely too much sanding for my liking. But…when you bring me an old piece of furniture that is constructed to last, and can be restored to its original workhorse status, I’m in. And…if you also happen to be my son bringing me the old piece of furniture that I envision may be used by my future grandchild… you know…down the road. I’m. All. In.
Hey, if you enjoyed this post, leave a comment below and then share it with a friend.
#sharingiscaring
Be well,
Eileen

Wait…I thought I was the grandchild.


love it!!!!
LikeLike