Hi Friends,
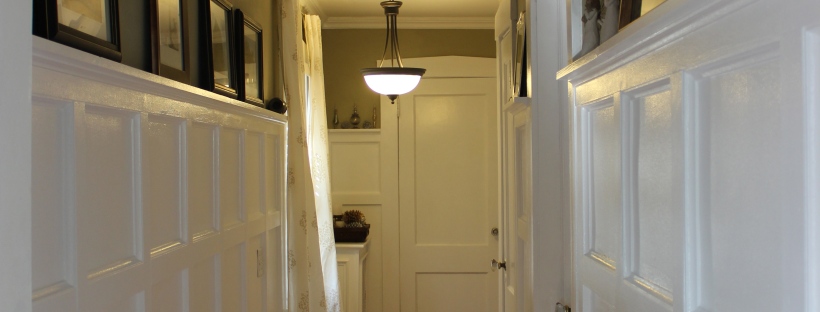
SuperHouls has outdone himself this time. God, I love that man and his DIY skills. Today I’m showing you a board and batten project that we did in our upstairs hallway. I’ve had this project in mind ever since I saw this image on Pinterest over a year ago…

…and I knew it would look awesome in our upstairs hallway. I immediately added it to my running list of projects and waited for the right time to present it. Over the holidays we had some time off and we were going to work on a more challenging project that we decided should wait until Spring. Then I remembered this and SuperHouls, seeing that it was much easier than the originally planned project, agreed to take it on. See what I did there, ladies? It’s all in the timing.
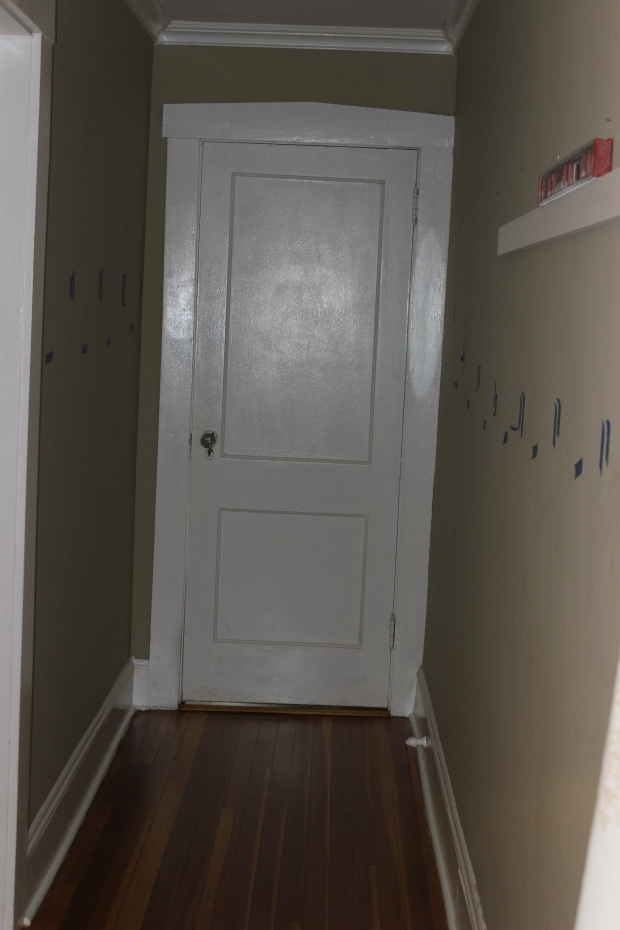
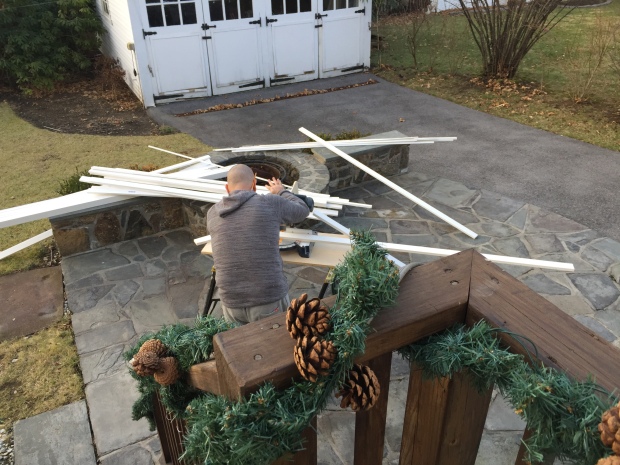
I researched tutorials and the best one I found was this one by Kim over at Sand & Sisal. Kim’s tutorial provides a simple, step by step procedure. We followed it almost exactly, except we changed the measurements of the boxes to fit the height and length of our walls. So here’s what we started with…
-
- Board & Batten Before 1
-
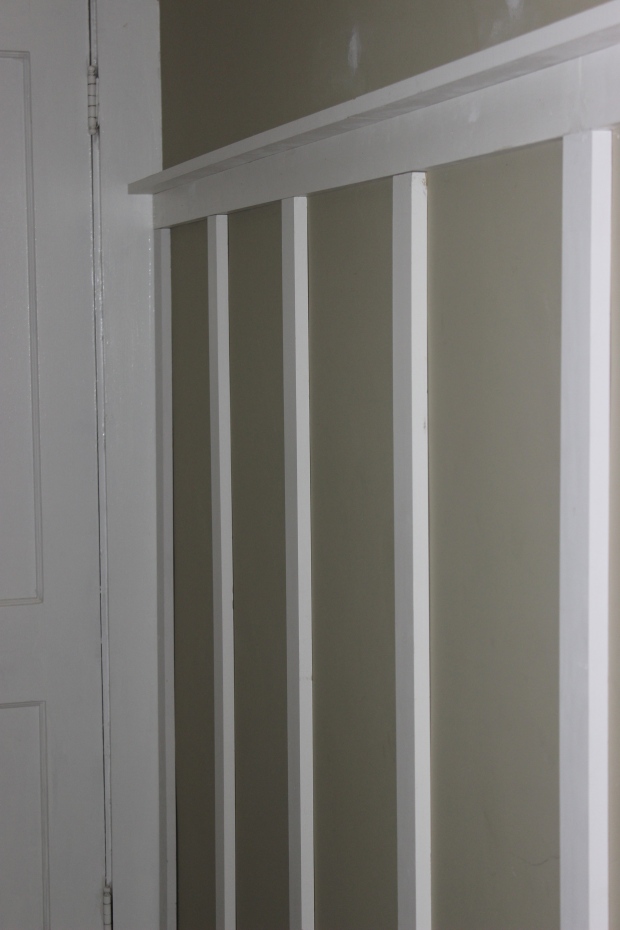
- Board & Batten Before 2
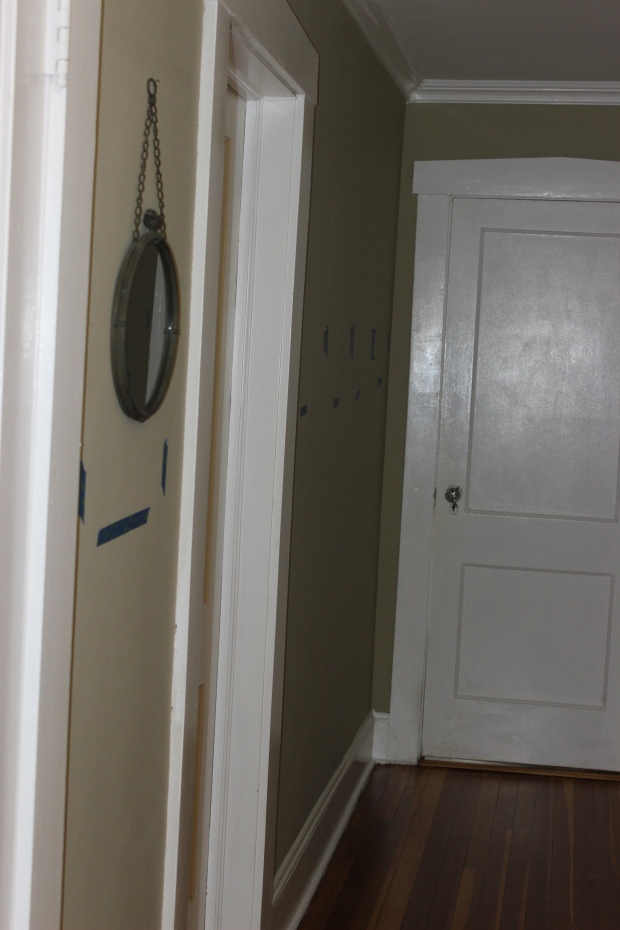
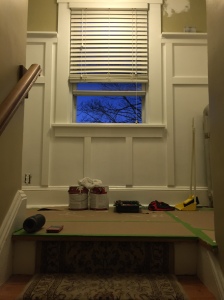
Sorry for the crooked pics but I almost forgot to take the before pictures and then quickly snapped these with my iPhone. Using blue painters tape to visual the placement of the wood slats was helpful for me to envision the completed project. The photo on the left shows where SuperHouls placed the first board and made sure it was level. Once that was done, it was all cutting and nailing, cutting and nailing…
-
- DIY: Board & Batten 2
-
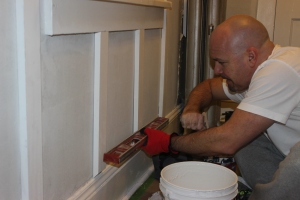
- Making the Cuts
-
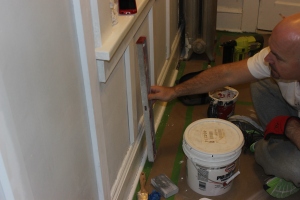
- DIY: Board & Batten 3
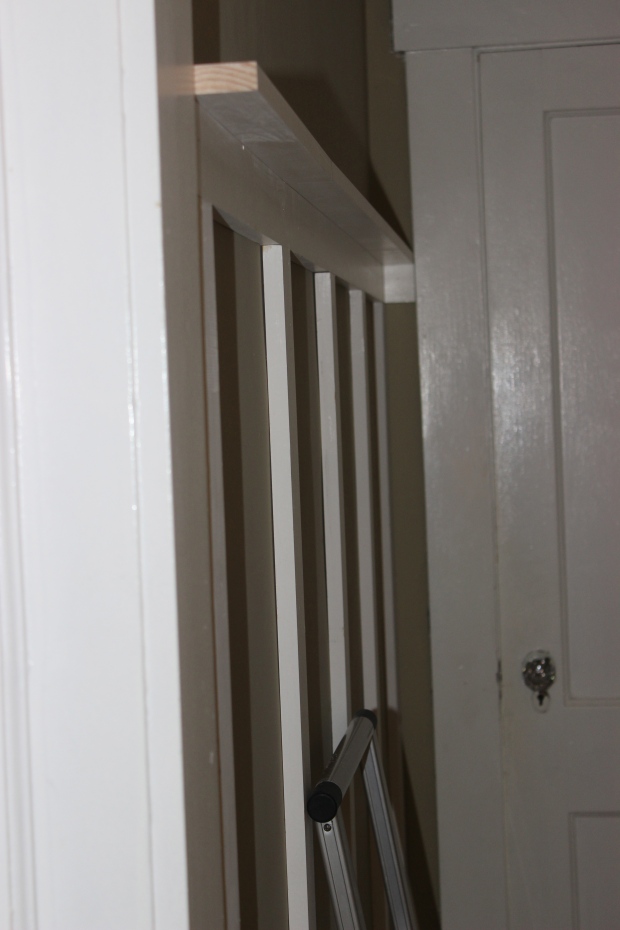
Did you notice the ledge on top? That’s my favorite part and you’ll see why in a moment. But before I continue, there is one thing we will do differently for phase 2 (down the stairs). We will definitely prime and paint the wall below the ledge before installing the boards. That mistake cost us a lot of painting time that could definitely be avoided. But that’s what DIYing is all about right? You learn as you go, and mistakes are simply an opportunity for learning. We did manage to get pre-primed boards because we’ve already learned that lesson from past projects. 🙂
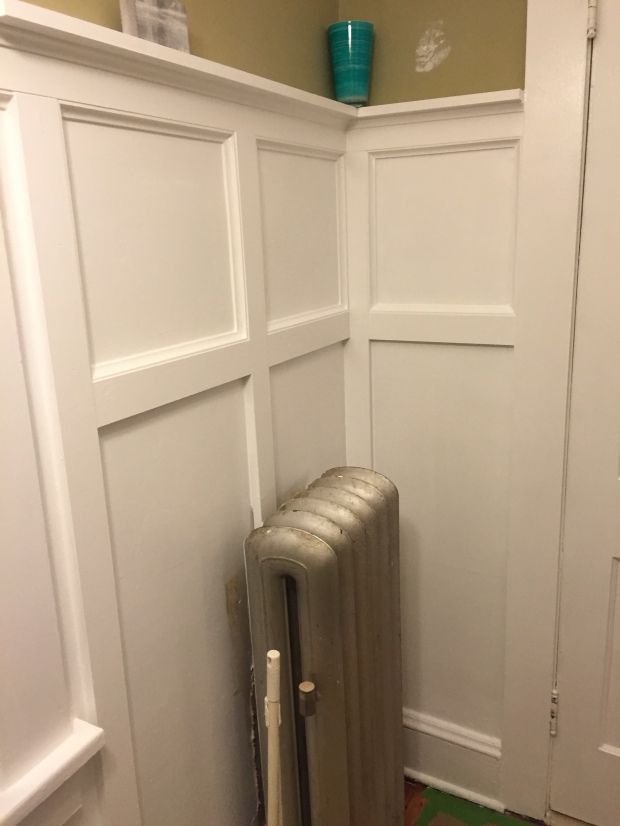
Now, you could just go with the vertical boards and make the installation less difficult. I’ve seen lots of beautiful photos on Pinterest with just the vertical boards and ledge on top. Of course, I say why stop at good when you can have great? So we kept going and added the boxes after priming the walls…

We also had to work around a window so we took this into consideration while planning our measurements.
Once this step is completed, you could call it done, but I love moldings and adding them makes such a difference…
-
- Caulked, Primed and Painted
-
- Trimmed out Boxes
-
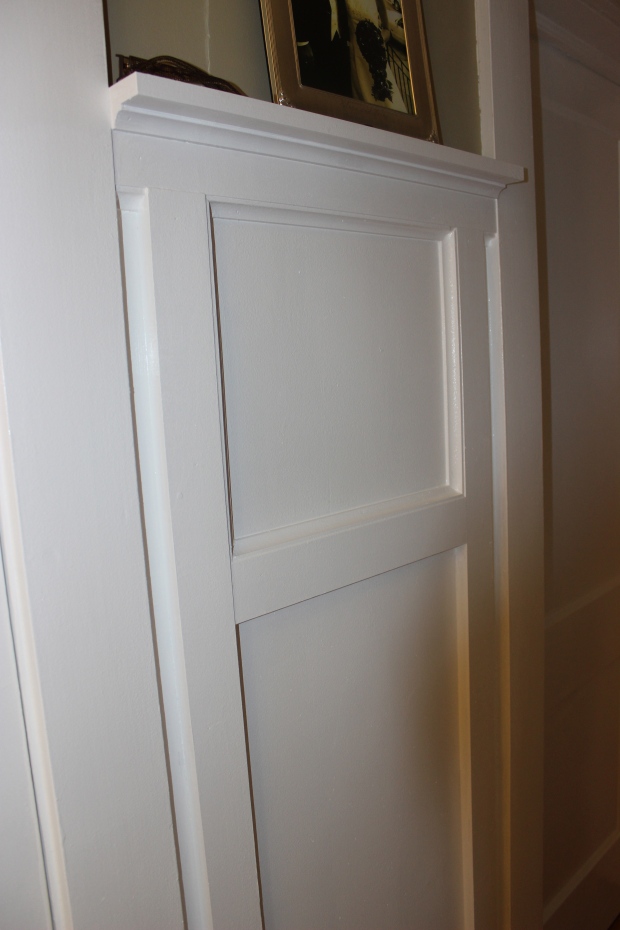
- Trimmed Box Close-up
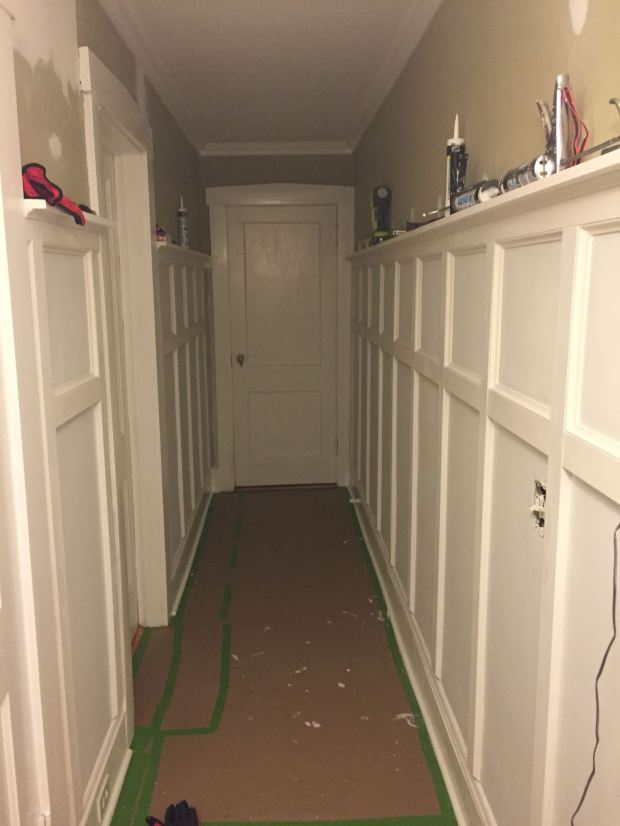
And 3 days later after a lot of caulking and painting, we were ready to pull up the brown paper on the floor, rinse the paint brushes and put the nail gun away. Ready for the results?
-
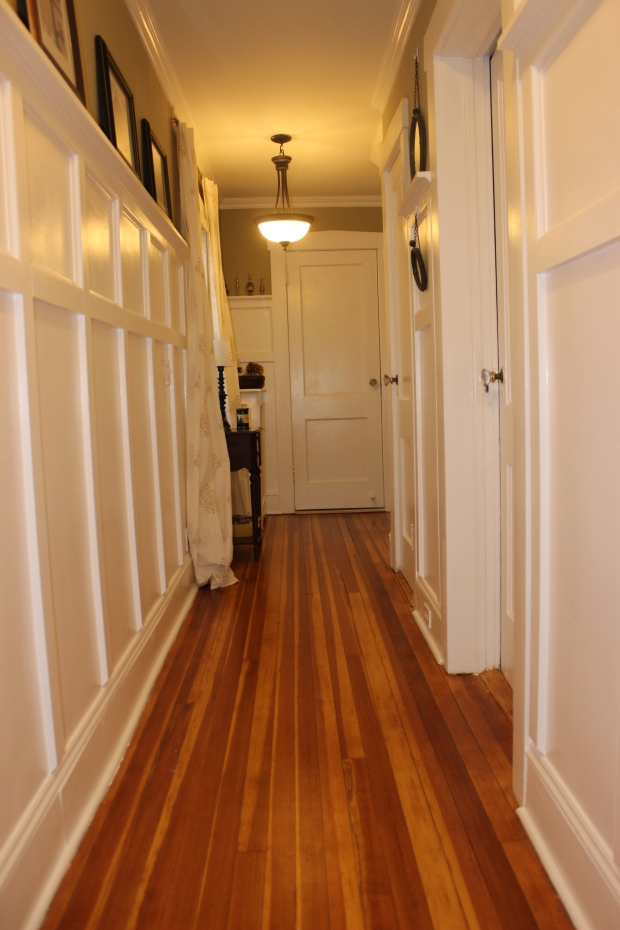
- Hallway Board & Batten Reveal
-
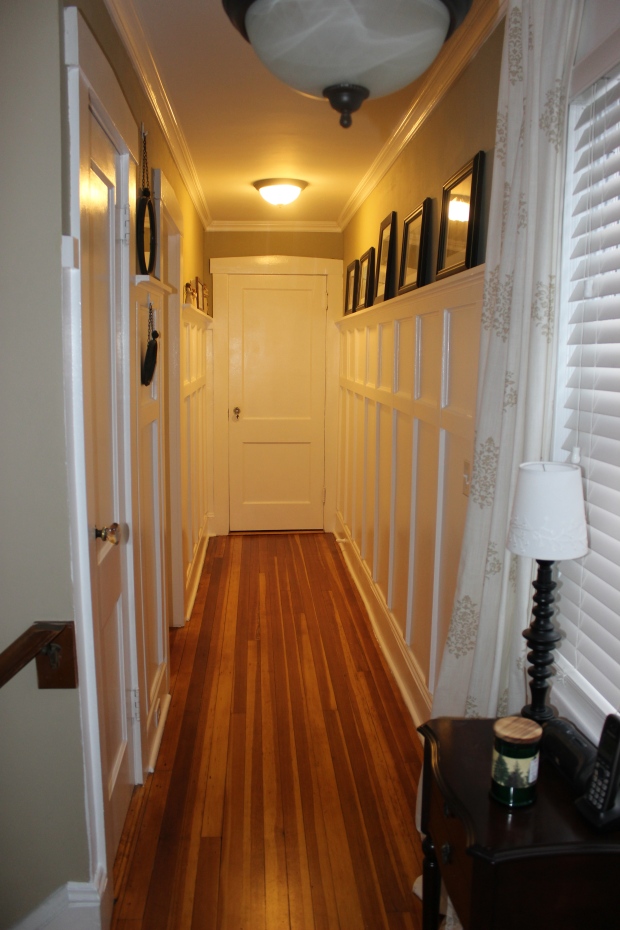
- Hallway Board & Batten Reveal
-
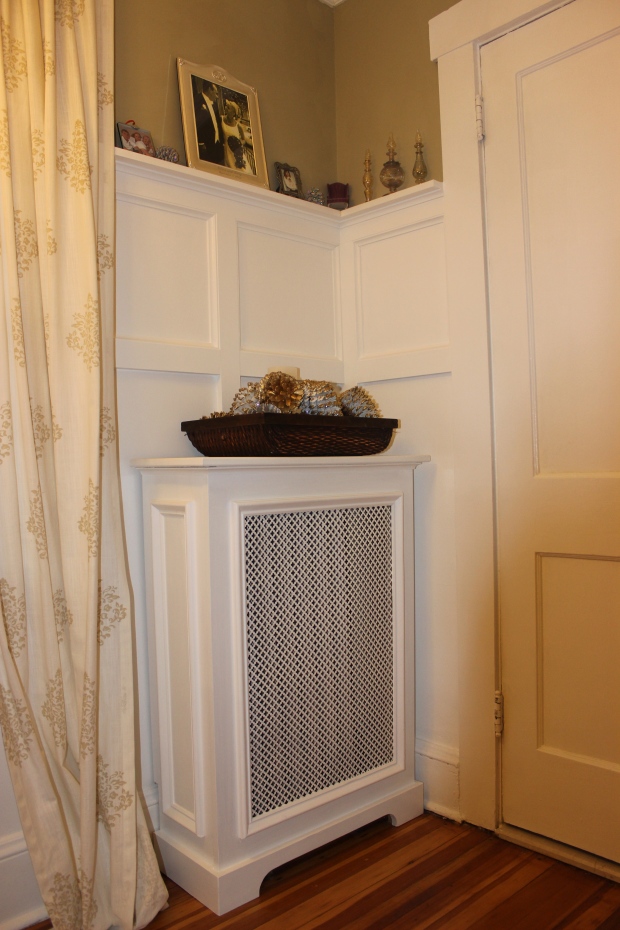
- Hallway Board & Batten Reveal
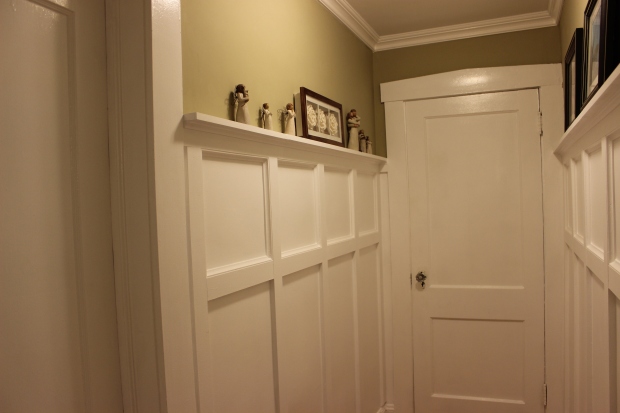
Look at all that character! Awesome, right? And you may notice in the before pics that the hallway light in the second picture above did not exist. SuperHouls decided we needed more light on that end so he wired it in. I’ll be replacing those ceiling lights down the road, but for now I’m enjoying all the light.
Remember I said the ledge is my favorite part? It’s perfect for artwork that can be switched out easily. No nail holes necessary.
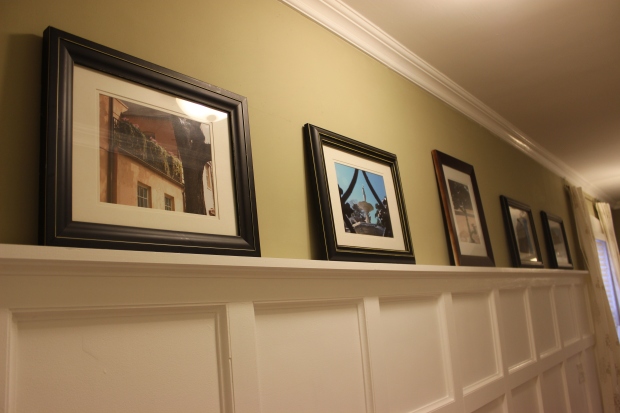
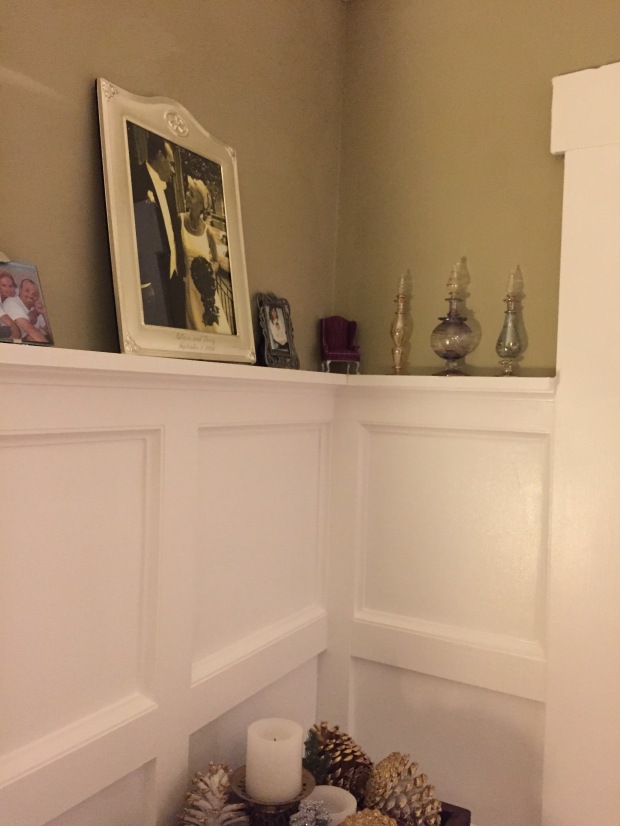
Luv. Luv. Luv.
Never underestimate the power of paint and wood to transform a space. My hallway feels twice as spacious and I can’t wait to take this down the stairs in phase 2. Did SuperHouls rock it out or what?
Hey, if you enjoyed reading this, why not share it or follow me, or both!
Be well,
Eileen
Linking to Sand and Sisal


beautifiul!!!
LikeLike